Baking sourdough is like coaxing a shy orchestra to play—it’s about patience, timing, and a little faith in crusty drama. You’ll feed and tame a starter that smells tangy and alive, mix flour and water until the dough feels like soft putty, fold it every half-hour so it grows strength, shape with gentle hands, and score for that perfect oven bloom—I’ll walk you through each step, but first let’s get your starter bubbly and ready.
Key Takeaways
- Maintain an active starter: feed regularly, discard a portion, and use when it doubles and smells pleasantly tangy.
- Mix flour and water gently, autolyse 20–60 minutes, then add salt and knead until the dough feels smooth and slightly glossy.
- Bulk ferment at room temperature with gentle folds every 20–30 minutes until the dough shows bubbles and slight rise.
- Shape gently to create surface tension, proof until a slow spring returns on a poke, then score just before baking.
- Preheat a Dutch oven to 475°F, bake covered 20 minutes for steam, uncover and finish at 430°F until deep brown and hollow-sounding.
Getting and Maintaining a Healthy Starter

Smell this—like a tangy orchard after rain, with a sly whiff of yeast and lemon; that’s your starter waking up. You’ll talk to it, feed it, watch bubbles bloom like tiny lanterns. I tell you straight: starter hydration matters—too thick, it sulks; too thin, it runs away. I show you a simple feeding schedule, twice a day when warm, once when chillier, and you’ll learn to read the rise and fall like a mood ring. Spoon out, discard a bit, add equal parts flour and water, stir until smooth. Keep it warm, but not hot. Use clear jars, label times, and don’t panic at odd smells—most are fine. You’ll get this; I stutter, but the starter won’t.
Mixing, Autolyse, and Salt Addition

Okay, now we move from coaxing your starter to actually making dough—this is where the science meets elbow grease. You’ll mix flour and water, use gentle mixing techniques so you don’t beat out the air, and feel the shaggy mass turn smooth under your hands. I like a quick fold-and-scoop to test gluten, it feels like petting a reluctant cat. Letting the dough rest, that autolyse benefits stage, hydrates flour, wakes gluten, and makes later handling easier. Add salt after autolyse, sprinkle it on, then knead it in; salt sharpens flavor and tightens the structure. You’ll notice texture change, a glossy sheen, the dough sighs a little. Trust your touch, trust the clock, and enjoy the tactile therapy.
Bulk Fermentation and Folding Techniques
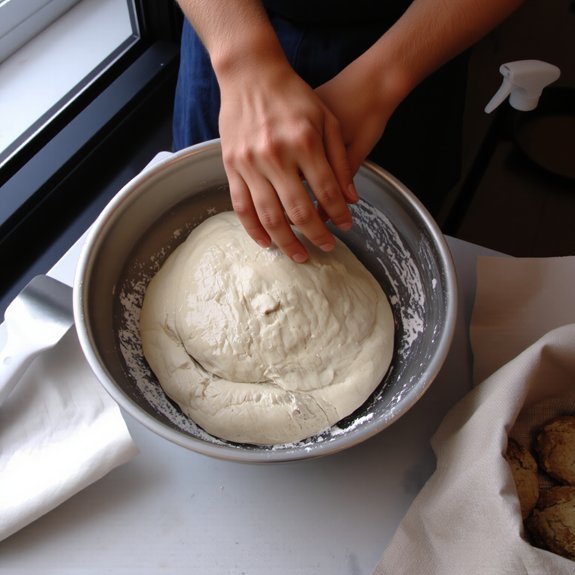
Once the dough has settled and your kitchen smells faintly of tang and possibility, you start bulk fermentation — that roomy, low-key phase where time does most of the work and you get to look important while folding. You’ll leave the dough to rise at room temp, watch bubbles form, feel the dough’s surface tighten under your fingers, and grin like a scientist. Every 20–30 minutes, perform gentle folding techniques: wet hands, scoop from one side, stretch up, fold over; rotate the bowl, repeat 4–6 times. Folding builds strength, traps gas, and shapes the crumb without punching the life out of it. Trust the rhythm, listen to subtle resistance, and don’t rush — patience rewards you with airy structure and flavor.
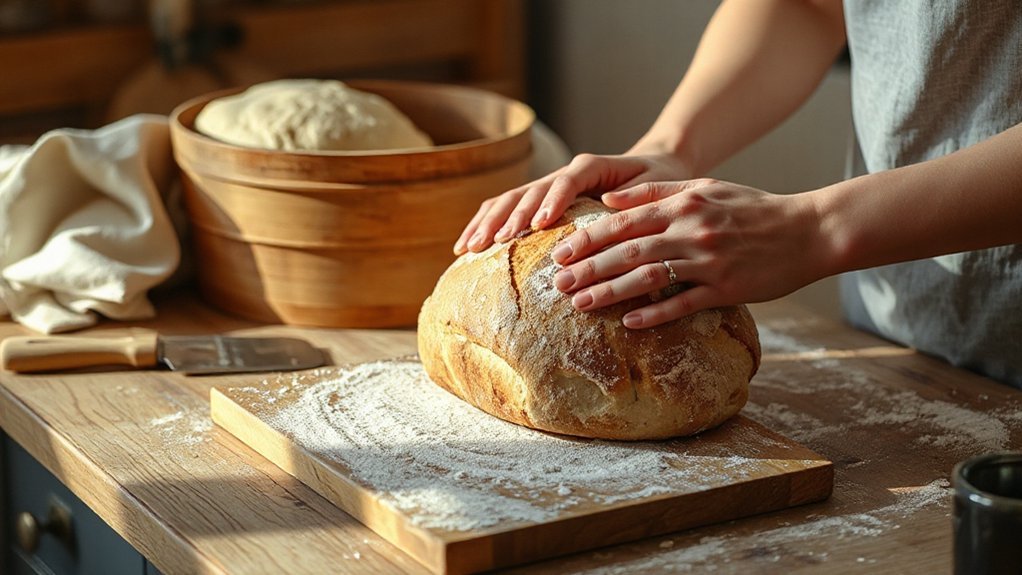
Shaping, Proofing, and Scoring the Loaf
Three simple moves will turn your relaxed, bubbly dough into a picture-ready loaf, and I’ll walk you through them without pretending I invented the wheel. You’ll shape, proof, and score with confidence, feeling the dough’s elasticity under your palms, hearing its slight sigh.
Three simple moves—shape, proof, score—and your bubbly dough becomes a picture-ready loaf, imperfect and joyfully yours.
- Use gentle shaping techniques: tighten the surface with quick, tidy turns, don’t tear the crumb.
- Respect proofing times: watch, press, and judge by poke, not by the clock alone.
- Choose scoring patterns: single slash for oven spring, decorative cuts for show.
- Pick loaf sizes: smaller bakes proof faster, larger boules need more patience.
I’ll remind you, you’ll mess up sometimes, then laugh, then eat warm, imperfect perfection.
Baking Setups, Steam, and Temperature Control
You’ve shaped, proofed, and scored your loaf—hands dusty, dough proud, and maybe a little lopsided—and now you’ve got to get heat and steam to do the heavy lifting. I preheat my oven with a Dutch oven inside, because oven preheating matters—very much—get it screaming hot, 475°F for 30–45 minutes. For steam generation, I toss ice cubes or a cup of boiling water into a preheated tray, or rely on the sealed pot’s own humidity; both lift crust like a magician. Slide the loaf in, cover for 20 minutes, then uncover and drop to 430°F, bake until glossy, deep brown, and the house smells like triumph. Listen for a hollow tap, then resist the urge to cut too soon.
Conclusion
You’ve turned flour and water into a living thing, so don’t panic now. Keep feeding that starter like a needy pet, fold the dough like you’re tucking it in, proof until it springs back, and score with confidence. Pop it into a screaming-hot Dutch oven, breathe in the caramel and steam, and watch crust bloom. You’ll burn a finger, laugh, taste victory, and realize bread is just patience wearing a delicious, crackling coat.
Leave a Reply