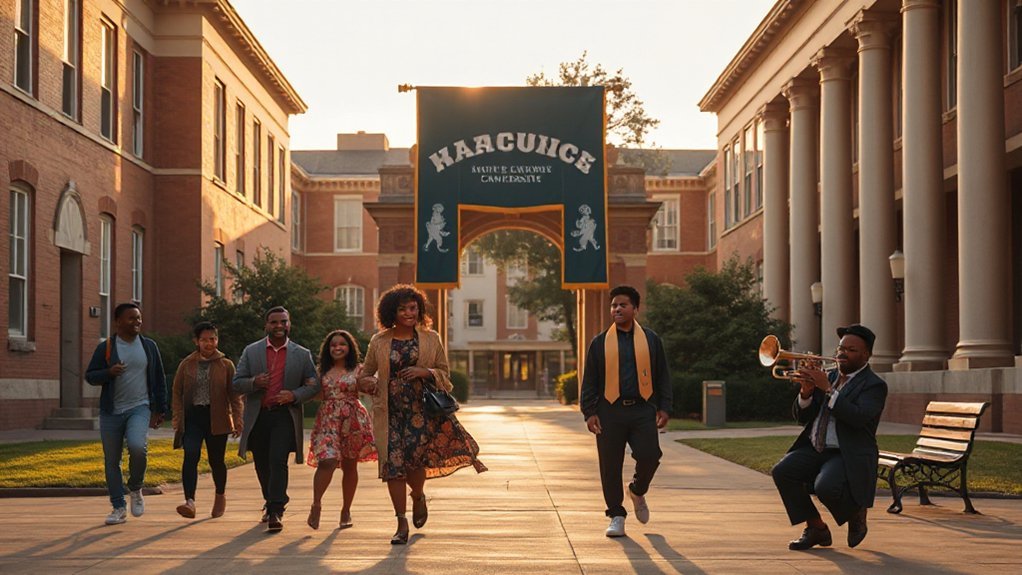
Your HBCU memories are a living scrapbook, sunlight spilling over banners and brass—so grab a camera and don’t overthink it. You’ll want shots of move-in chaos, drumline thunder, late-night study runs, and that one professor who says your name like a blessing; listen for laughter, crop tight on hands and medals, and chase golden-hour backdrops like they owe you money. I’ll show you how to make honest, cinematic stuff that actually feels like you, but first—
Key Takeaways
- Plan a visual story around meaningful moments (move-in, study nights, homecoming) and list scenes by feeling, not just shots.
- Scout walk routes and golden-hour spots, then practice framing to capture authentic light and atmosphere.
- Use a smartphone or compact camera with a small tripod, extra battery, and a fast SD card for reliability.
- Frame for storytelling: use leading lines, varied angles, tight crops for intimacy, and candid gestures over posed portraits.
- Edit subtly—balance highlights/shadows, warm midtones, maintain honest skin tones, and keep color/exposure consistent across clips.
Planning Your Visual Story: What Moments Matter Most
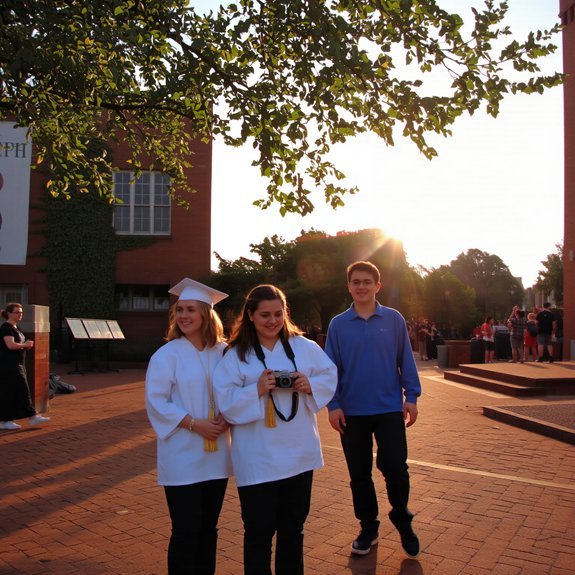
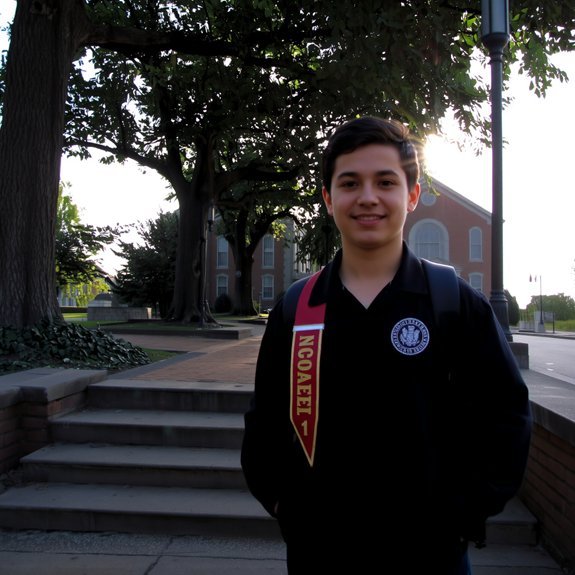
When you walk onto campus on move‑in day, breathe it in—the hot asphalt, the smell of fresh paint on the dorm, laughter ricocheting off brick—and decide what you want to remember, because not everything needs a photo. You’ll pick moments that matter: late‑night study triumphs, the first homecoming parade, a professor’s offhand wisdom that sticks, a roommate’s ridiculous attempt at cooking. I tell you to list scenes, not shots; frame feelings, not gear. Walk routes, note golden‑hour spots, jot voices and textures—pep rally chants, worn steps, syrupy diner coffee. Talk to friends about what’s meaningful, then plan days around those memories. You’ll end up with a story that feels true, messy, joyful, and entirely yours.
Camera Gear and Smartphone Tips for Campus Shoots
Because you don’t need a backpack full of gizmos to make magic, I’ll tell you straight: bring what you’ll actually use. Grab your phone, a compact camera if you have one, and a small tripod — the kind that folds into a water-bottle slot. Keep an extra battery or power bank, and a fast SD card that won’t choke on video. Clean lenses with a microfiber cloth; fingerprints ruin a sunset. Use your phone’s grid and lock exposure, tap to focus, and try the portrait or cinematic mode for easy depth. Shoot in RAW if you can, but don’t overcomplicate it. I’ll remind you to test mic levels, carry earbuds for playback, and always, always save a downtown stroll for golden-hour practice.
Framing, Composition, and Lighting That Reflect Campus Life
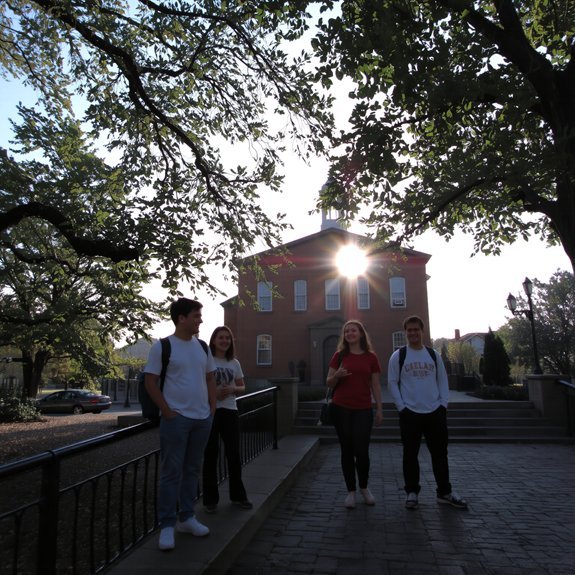
If you want your photos to actually feel like campus — not just pretty postcards — start by thinking like someone telling a story, not a robot taking inventory. Walk the quad, breathe the late-summer grass, frame a friend under a red-brick arch, and let shadow carve their jawline. Use leading lines — sidewalks, columns, banners — to pull the eye, crop tight for intimacy, pull back for context. Golden hour flatters skin and brass, harsh noon reveals texture and sweat, backlight makes hair glow. Tilt your phone, kneel, climb a bench — don’t be shy. Capture gestures, not poses: a laugh mid-sip, a book slammed shut. Mix wide campus scenes with close-up details, and trust your gut about what feels true.
Editing Techniques to Preserve Mood and Authenticity
You’ve already learned to see the scene—now let’s whisper to it. You’ll trim highlights, nudge shadows, and keep skin tones honest, because your campus feels like sun-warmed brick and late-night coffee, not plastic filters. I’ll tell you to trust subtlety: lower contrast a hair, lift the blacks slightly, warm the midtones, and don’t overcook saturation. Use selective edits—eyes, fabric texture, a marching band uniform—to draw focus, not fake it. For video, match color and exposure between cuts, and let ambient sound breathe; silence can kill a moment. Keep grain when it gives grit, remove it when clarity serves. Export multiple versions, pick the one that feels right, and if you hesitate, choose the truer-looking frame.
Sharing, Archiving, and Building a Visual Legacy
When you start sending these pictures and clips out into the world, treat them like heirlooms, not throwaway likes—because they’ll outlast your phone and your mood. Put them in folders, label them with dates and names, and back them up twice, once local, once cloud. Share highlights on social, sure, but also make private albums for family, professors, and future-you. Add captions that smell like coffee at sunrise and sound like laughter in the quad. Archive raw files, export neat folders, and build a simple website or digital zine—yes, you can DIY, no, you don’t need fancy code. Encourage friends to add theirs, credit creators, and keep a running caption journal. Do this, and you’ll leave a vivid, honest visual legacy.
Conclusion
You’ve got the shots, the clips, and the late-night laughs—now stitch them into a story only you can tell. Keep the golden-hour frames, the messy study desks, the parade confetti; don’t over-polish the sweat and joy. Save private albums like secret mixtapes, share highlights like proud brags. I’ll bet one photo will hit you like a song you forgot, and you’ll smile, knowing you captured more than moments—you captured home.
Leave a Reply