Most people don’t know that a pre-cooked spiral ham only needs gentle heating, not an hour of oven punishment. You’ll learn how to trim, glaze, and time it so the crust sings and the meat stays juicy, and yes, I’ll show you a failproof glaze that even your picky aunt will admire. Stick with me — I’ll stop the drying-out disaster before it starts, and we’ll still have room for pie.
Key Takeaways
- Choose the right ham (smoked, spiral, bone-in, or boneless) based on flavor, presentation, and how much hands-on carving you want.
- Trim excess rind and fat, leaving a thin fat cap so the glaze penetrates without creating greasy slices.
- Reheat or cook to safe temperatures: 145°F for raw ham, 140°F for fully cooked/reheated, using a meat thermometer.
- Glaze with a sugar-acid base (brown sugar, maple, mustard, or fruit) and brush every 10–15 minutes, finishing under broil for caramelization.
- Roast at 325–350°F, plan 15–20 minutes per pound for pre-cooked bone-in, then rest 15–20 minutes before slicing.
Choosing the Right Type of Ham
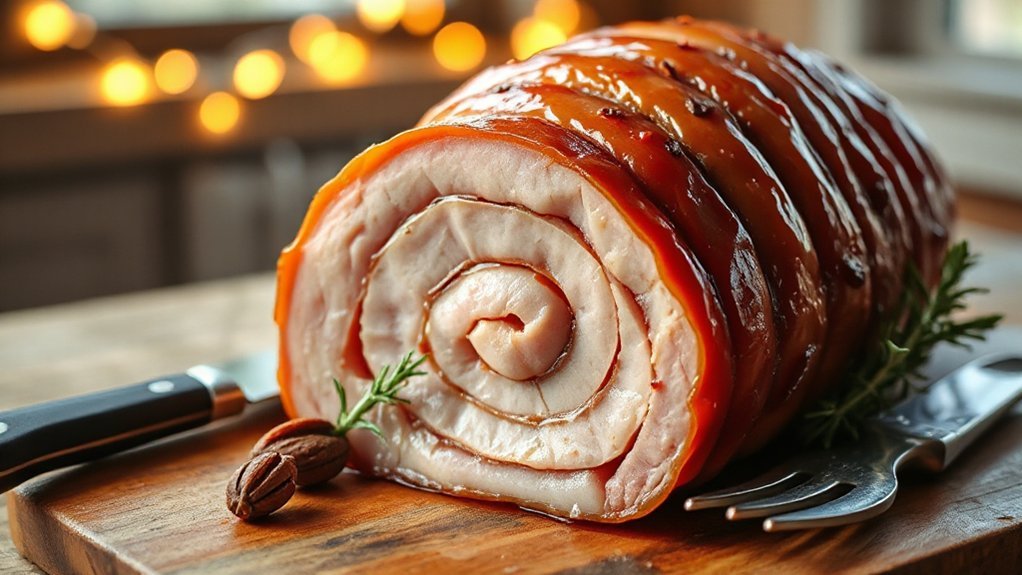
Why pick one ham over another—doesn’t that feel oddly like choosing a holiday soulmate? You’ll sniff first, trust me, because aroma tells you stories: a smoked ham hits you with woodsy, savory warmth, while a spiral ham promises convenience and those postcard-perfect slices. You’ll imagine the table, plates clinking, jaws mid-chew, and decide whether you want rustic depth or effortless glam. I’ll nudge you toward smoked ham if you crave smoky drama, char notes, and a chewy, satisfying bite; pick spiral ham when you want neat rounds, glaze that clings like candy, and zero knife theatrics. Either way, picture slicing, tasting, a little dance in the kitchen—you’ll know when you’ve found the one.
Preparing and Trimming the Ham
You picked a ham, now let’s get it ready — I’ll help you spot the right cut and trim it like a pro, no stress. Lay it on a sturdy board, feel for the fat cap and follow the bone with a sharp knife, peeling away any thick, waxy blubber until you’ve left a thin, even layer that’ll baste and crisp. Trust me, a little careful trimming smells better, carves prettier, and makes the glaze actually stick, so roll up your sleeves and let’s make this ham sing.
Choosing the Right Ham
How do you pick a ham that makes everyone forget about the messy year and fight over seconds? You weigh ham varieties, you sniff for sweet or smoky flavor profiles, and you picture that glorious brown crust. I say go bone-in for depth, if you don’t mind a little carving theater. Boneless is neat, fast, kid-approved. Spiral-cut saves your wrist, but check glaze absorption—some hams drink it up, others shrug. Smoked versus honey-cured? Smoked hits you like a cozy fireplace, honey-cured sings of sticky, golden sweetness. Feel the heft, examine the label, imagine the aroma pulling guests from the couch. I promise, pick one with confidence, and you’ll be the reason someone whispers, “Can I have more?”
Trimming Excess Fat
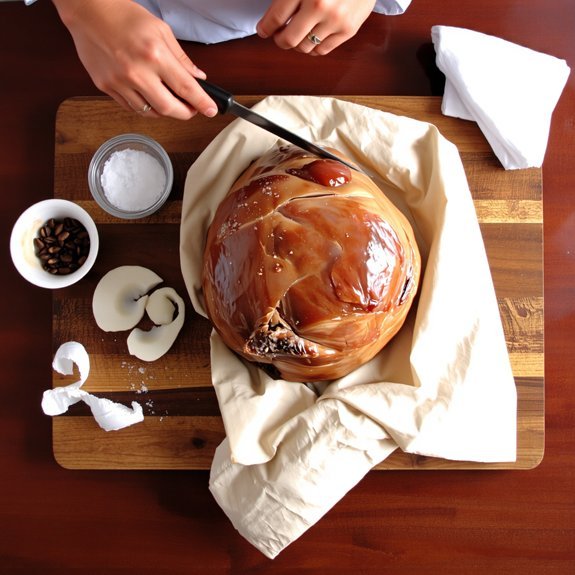
When the ham comes out of its wrapper, take a breath and look it over like you’re about to tame a small, fatty beast—I do, every time, because trimming is half ceremony, half surgery. You’ll see thick rind and blobs of fat. I tell you to start with a sharp knife, slice away pockets of fat, leaving a thin cap for flavor. Feel the texture, smell the pork, don’t be squeamish. Use gentle strokes, pull the fat with your free hand, keep the blade angled, that’s key. These trimming techniques speed cooking, prevent greasy glaze, and help even seasoning. Fat removal isn’t about purging flavor, it’s about balance. You’ll end up with a neater, juicier roast, and a proud grin.
Glaze Ideas and Application Techniques
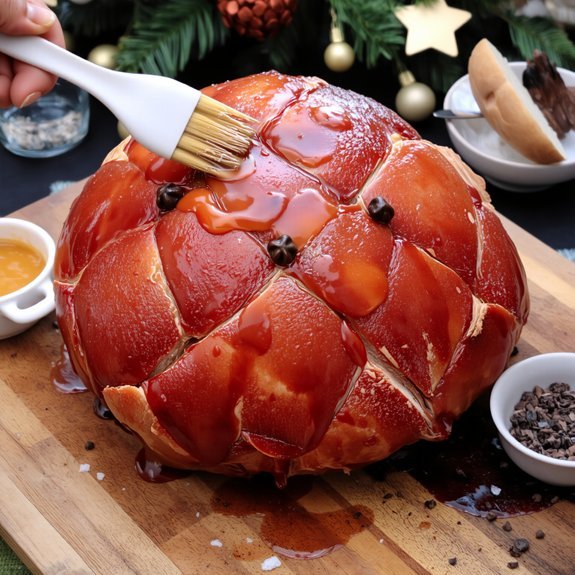
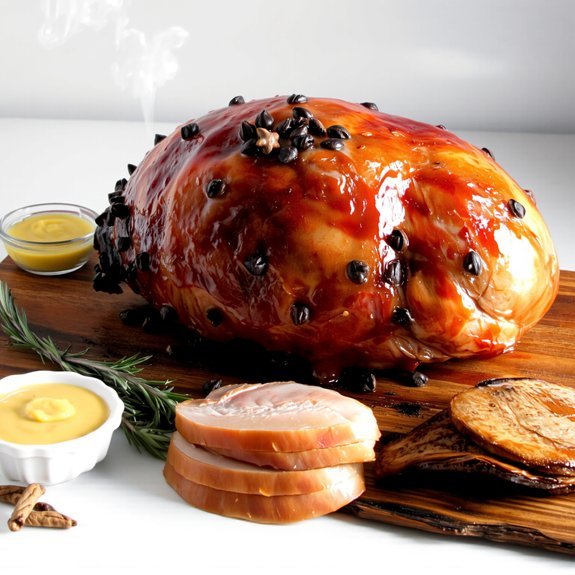
Even if you’re planning a simple spiral-sliced ham, don’t skip the glaze — it’s the part that turns “nice” into “knock-their-socks-off.” I’ll walk you through flavor ideas that actually sing (brown sugar and mustard? yes. maple and bourbon? absolutely.), and show how to paint, baste, and finish so every slice has a glossy, caramelized crust that cracks with a satisfying snap. Start with a base: brown sugar, a splash of maple syrup, and a spoonful of spicy mustard for snap; add cloves, citrus zest, or bourbon if you’re brave. Brush on, let it set, baste again every 10–15 minutes, and finish with a hot broil for five minutes to blister. Slice, smell, smile, serve.
Oven Roasting and Baking Times
Okay, here’s the game plan: set your oven temperature right, I mean precise heat so the fat crisps and the meat stays juicy, and I’ll walk you through the sweet spot for both spiral-cut and whole hams. You’ll learn the minutes-per-pound math that stops guesswork, plus when to baste, when to tent with foil, and how long to let the ham rest so juices settle (trust me, patience equals glory). Then we’ll slap on the glaze at the perfect moment, hear the oven sing, and carve into a glossy, fragrant centerpiece everyone’s been eyeing.
Oven Temperature Guidelines
Heat is your friend, not a tyrant—treat the oven like a temperamental but reliable sous-chef and you’ll nail the roast. I tell you plainly: set the oven temperature to control flavor, not just kill germs. Different cooking methods need different temps; low and slow brings tender, high heat crisps the exterior. You’ll smell caramel and hear a gentle sizzle when it’s working.
- 325°F for gentle roasting, steady and forgiving.
- 350°F for a balance of browning and juiciness.
- 375–400°F to finish, crisp the glaze, watch closely.
- Use an oven thermometer, don’t trust the dial.
I check color, tent with foil, baste once — you’ll get applause, and maybe a smug grin.
Cooking Time per Pound
One reliable rule I swear by: plan for roughly 15–20 minutes per pound for a fully cooked, bone-in ham at 325°F, and about 10–12 minutes per pound if you’re starting with raw ham—numbers that keep you out of the danger zone and in the delicious one. You’ll use simple cooking methods, oven roasting mostly, and do time calculations that make sense. I’m blunt: weigh the ham, do the math, set the timer. You’ll hear the oven hum, smell the sugars caramelize, and peek once or twice like it’s a sitcom. If you’re nervous, use a meat thermometer—145°F for raw, 140°F for reheated, and you’re gold. No drama, just juicy results.
Resting and Glazing Tips
You’ve done the math, set the timer, and the oven’s been humming like a tiny orchestra—now don’t wreck it by skipping the rest. Let the ham sit, tented loosely with foil, for 15–20 minutes; juices redistribute, you’ll slice cleaner, and it won’t spatter molten bliss everywhere. Try simple resting techniques: elevate on a rack, keep it warm, and resist the fork.
- Brush glaze cold, then reheat briefly for shine.
- Baste every 10 minutes for a sticky crust.
- Sear under broiler 2–3 minutes for caramel.
- Let internal temp settle 5–10°F before slicing.
Pick glazing options you love—brown sugar, mustard, or maple—mix sweet, tang, and heat, then watch guests swoon.
Reheating Pre-Cooked Hams Safely
If you’re staring at a glossy, pre-cooked ham on your counter and wondering how not to ruin it, relax — I’ve got your back. You want safe reheating, and you want it tasty, not rubbery. Preheat the oven to 275–300°F, that’s your sweet spot for even warmth. Pop the ham, fat-side up, in a shallow pan, add a splash of water or stock, cover tightly with foil, and let low, slow heat work its magic. Aim for internal temperature guidelines: 140°F for fully cooked hams, check with a probe in the thickest part. Rest five to ten minutes before slicing. You’ll get juicy slices, no surgical gloves required. Slice, serve, and enjoy the applause.
Common Mistakes to Avoid and Serving Tips
Alright, now that your pre-cooked ham’s safely warmed and resting like a diva, let’s talk about the stuff that actually ruins dinner — and how to avoid it. You’ll trip up if you over-glaze, slice too early, or serve it stone-cold. Keep juices, keep patience. For common serving errors, remember: cut against the grain, let carryover finish the job, and save the drippings for sauce.
- Over-glazing burns surface, tastes bitter.
- Cutting hot makes a juicy mess.
- Ignoring internal temp risks safety.
- Bland plating kills holiday presentation.
Plate with colorful sides, spoon glossy glaze over cuts, whisper “look alive” to guests, and enjoy the applause when everyone digs in.
Conclusion
You’ve got this. One in four Americans serves ham at holiday meals, so your oven heroics matter. Trim a little fat, slap on that glaze, baste like you mean it, and let the steam perfume your kitchen—brown sugar caramel, tangy mustard, sticky citrus. Rest it, slice it, watch jaws drop. I’ll take credit, you take the applause, and don’t forget: save the bone for soup, it’s dinner encore magic.
Leave a Reply