You’ll want cold butter, just the right flour, and a little stubborn patience — trust me, I’ve ruined more crusts than I’ll admit — and you’ll feel the dough change under your fingertips, cool and granular, like sandy silk. Keep everything chilled, cut fat into flakes, don’t overwork it, and laugh at the mess; roll gently, dock or weigh before baking, and listen for that faint, golden whisper in the oven. There’s one trick I save for last.
Key Takeaways
- Use cold butter (or a mix of butter and shortening) and keep ingredients chilled to create flaky layers and prevent melting.
- Measure by weight with about a 2:1 flour-to-fat ratio for consistent dough structure and texture.
- Work the dough minimally until pea-sized butter bits remain, then rest chilled 30–60 minutes to relax gluten.
- Roll from the center outward on a lightly floured, chilled surface, flipping and rotating to maintain even thickness and shape.
- Blind-bake with parchment and weights for wet fillings, shielding edges with foil to avoid burning and ensure a crisp crust.
Ingredients That Make a Flaky Crust

Flour is the backbone, and you’ll thank me later for saying that up front. You pick a good all-purpose, feel it sift through your fingers, and know the crust’s fate. I’ll nag about butter types, because they matter: stick butter gives flavor, European adds richness, and shortening keeps you flaky on bad days. You measure, eyeball, then cut cold cubes in, listen for that clinking chorus against zinc. Fat ratios are your secret map—about two parts flour to one part fat by weight, with a splash of cold water for cohesion. Salt wakes things up, sugar tints the browning. Don’t overwork it, trust the chill, and let the dough rest; patience rewards you with shatter and sighs.
Tools and Prep You Shouldn’t Skip
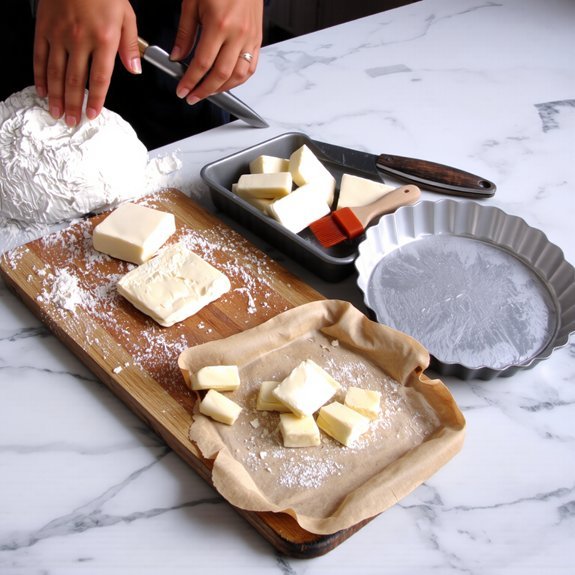
One thing I learned the hard way: the right tools make the difference between a crust you brag about and one you quietly toss. I’ll be blunt: you need essential tools — a sturdy rolling pin, a bench scraper, a good pie dish, a pastry blender or food processor, and a ruler or small offset spatula for neat edges. Prep matters, too; chill your butter, flour, and workspace, and have a bowl of cold water ready. These preparation tips save you grief, they save time, and they keep dough from sulking. I talk, I joke, I mess up, then I fix it. You’ll thank me when your crust sings, edges golden, scent warm, buttery, exactly as you meant it.
Techniques for Mixing and Handling Dough

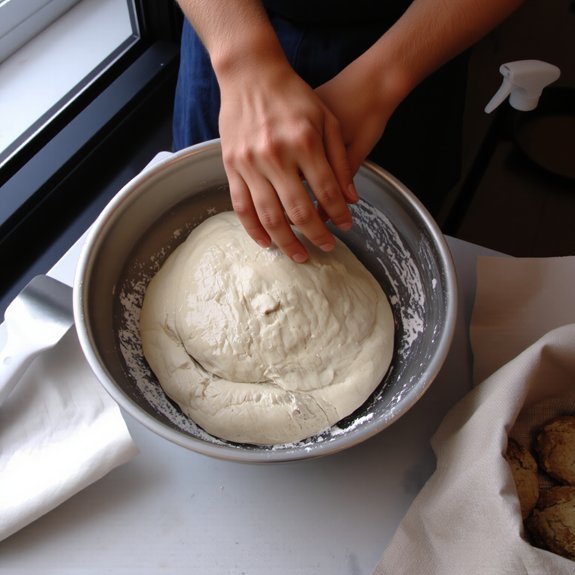
Keep your butter icy and your hands cool, because flaky layers start with cold ingredients—trust me, your future self (and flaky crust) will thank you. Work the dough just enough to bring it together, don’t over-tamper; think gentle presses and quick folds, like you’re flirting with it, not wrestling it. Then wrap it up, let it nap in the fridge until it’s firm and forgiving, and you’ll be rewarded with a crust that snaps and sings.
Keep Ingredients Cold
If you want a crust that snaps like a good joke, start by chilling everything down—your butter, your bowl, even your attitude. I mean it: cold fat makes flaky layers, so you’ll keep ingredients cold, and you’ll keep chilled water ready in the freezer, not the tap. Work fast, feel the butter like pebbles, and stop if it warms.
- Excitement: the clink of frozen cubes, the breath you hold before pinching dough.
- Relief: when bits of butter still glint, promising lift.
- Pride: your hands smell of butter and victory.
- Anticipation: the oven hum, the crust puffing.
I narrate, I joke, I remind you to chill, then to assemble, confidently.
Minimal Handling Counts
Because you want flaky layers, not a brick, treat the dough like a shy animal—light, patient, and a little bit nervous. I whisper to it, then I work fast. Use minimal handling tips: measure, cut fat, toss with flour, then fold gently. Don’t overmix, don’t knead like you’re making bread. Press with fingertips, pulse in the food processor, or rake with a fork, until pea-sized butter bits remain. Keep surfaces floured, use a bench scraper, lift don’t stretch. These dough handling techniques keep pockets of butter intact, they puff, they sing. You’ll feel cool bumps of butter under your palms, see flecks of fat like tiny islands. Do less, enjoy more—your crust will thank you, in crisp, buttery applause.
Rest and Chill Dough
When you’ve coaxed the dough into a shaggy, flour-speckled mass, I make it stop and sit down—literally; folding it into a disk and tucking it into the fridge is the single act that turns slapdash pastry into something that sings. You’ll feel calmer after 30–60 minutes, because resting benefits are real: gluten relaxes, butter firms, flavors settle. I wrap the disk tight, press out air, and label the time like a scientist who also loves dessert.
- Quiet patience, the dough breathes, you exhale.
- Cold butter, tiny pockets, steam magic during baking.
- A brief nap, then confidence, less tearing.
- The chill is sacred, you’ll thank me later.
Aim for a chilling duration that suits your schedule, don’t rush.
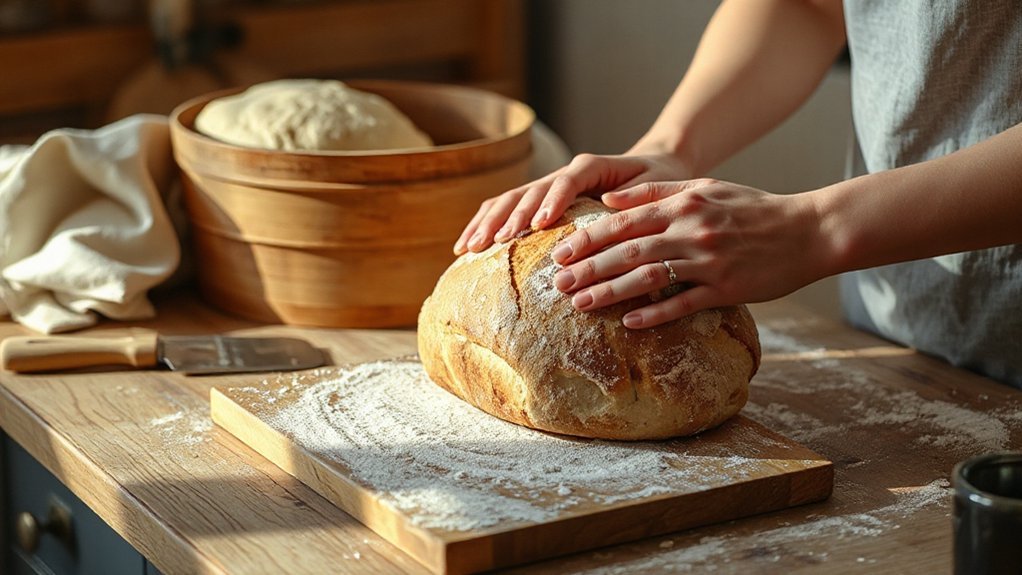
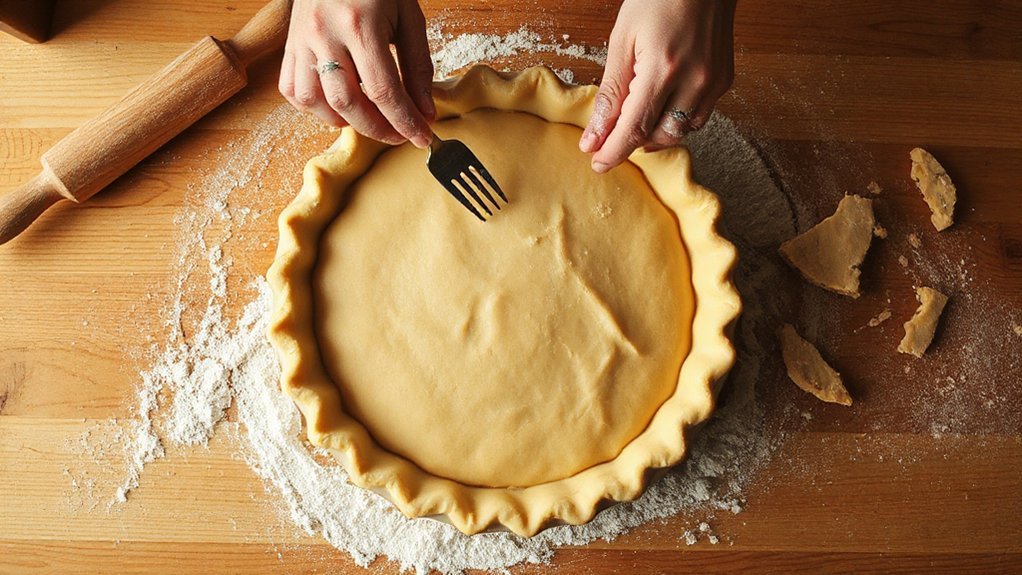
Rolling, Shaping, and Fitting Into the Pan
One good roll is all it takes to feel like a pastry superhero, and you’re about to prove it. I walk you through rolling techniques, showing how to roll from center outward, flip the dough, dust sparingly, and keep it cool so it won’t stick or snap. You’ll hear the faint flour whisper, see the edge thin just so, and learn shaping tips for neat rims, crimps, or a rustic fold. Ease the disk into the pan, don’t stretch—stretching shrinks. Press gently to fit corners, patch tears with a dab of water, trim a neat overhang, then tuck and flute or fork the edge. You’ll finish feeling smug, confident, and oddly heroic, pie tin in hand.
When and How to Blind-Bake
You’ll blind-bake when a wet filling or a super-crisp bottom is on the menu, because soggy crust is the enemy of happy pies. I’ll show you how to weight the shell with parchment and beans so it holds its shape, and tell you when to remove the weights for that golden finish. Heat matters too — I’ll give you the right timing and temperature so the crust’s flaky, not burnt, and your nose gets that buttery, toasty reward.
Why Blind-Bake Matters
Because flaky crusts don’t magically happen on their own, I always blind-bake for pies that have wet fillings or need a crisp bottom — and you’ll thank me when the filling doesn’t turn your crust into a soggy canoe. I tell you, blind baking saved many a Thanksgiving, it’s simple, and it’s about control: blind baking, benefits explained. You preheat, dock, line with foil, weight it down, bake until set. The result? A golden, crunchy shell that sings when you cut it.
- Relief, when the filling stays put.
- Pride, at that perfect fork-crisp edge.
- Joy, hearing the crust snap.
- Confidence, knowing your pie won’t flop.
Do it, you’ll feel like a pastry wizard, slightly smug, deservedly so.
How to Weight Crust
When the crust needs a head start — like for custard pies, fruit pies with juicy fillings, or anything you don’t want soggy — I grab my foil and pie weights and get down to business; blind‑baking with weight keeps the pastry flat, flaky, and gloriously crisp, instead of bubbling up into sad little pastry balloons. You line the shell with foil, press it snug to the edges, fill with pie weights, dried beans, or rice if you’re improvising, and slide it into the oven. The weights press the dough so steam escapes, you get even browning, and the crust protection is immediate. Remove weights carefully, peel back foil, and if the center needs firming, bake a bit more without them. You’re halfway to pie glory.
Timing and Temperature
If you want a crust that snaps and sings, timing and temperature are the backstage crew you can’t ignore; I treat them like a ticking metronome and a mood light. You preheat, you watch, you trust rhythm—because blind-baking isn’t guesswork. Set oven temperatures precisely, use a lower start to set fat, then crank heat to toast. Baking times matter: dock, weigh down with beans, then remove weights to brown. You’ll feel the crust firm, smell butter turning golden, see edges blush.
- The hiss of steam leaving, relief that you nailed it.
- The quick squeeze of crust between fingers, proud and smug.
- The bright pop when flaky layers separate.
- The cozy warmth that says, done right.
Troubleshooting Common Pie Crust Problems
Once your golden crust comes out lopsided, shrunk, or soggy, don’t toss the rolling pin in dramatic defeat—I’ve wrecked more pies than I’d like to admit, and you’ll survive this. You’ll spot soggy crusts when steam pools, fillings weep, or the bottom feels like damp cardboard; blind-bake, dock the dough, and brush with beaten egg or melted chocolate to seal it, crisping the base. Crumbly texture? Chill the dough, handle it gently, and add a tablespoon of ice water at a time until it holds; too much flour will make sand castles, too little butter, dry sawdust. If edges burn, shield them with foil. Give fixes a try, taste often, and laugh when a crust rebels — you’ll perfect it.
Conclusion
You’ve got this—keep ingredients cold, treat the dough like a shy friend, and don’t overwork it. I’ll warn you: patience is the secret spice. Roll with confidence, dock and chill, then blind-bake with weights until it sings golden and crisp. If it cracks, patch it; if it’s soggy, try hotter oven and longer bake. Practice makes flaky, and every pie is a classroom—taste the lessons, laugh at mistakes, then eat the evidence.