Tag: Christmas cookies

  • How Do I Organize a Christmas Cookie Exchange

    How Do I Organize a Christmas Cookie Exchange

    Did you know nearly 60% of people say homemade cookies beat store-bought every time? You’ll want a cozy date, clear rules, and a simple sign-up so Aunt June doesn’t bring 200 thumbprints; I’ll walk you through how many bite-sized pieces to ask for, how to label allergies, pack for transport, set up a cute serving table, and add a goofy game that gets everyone laughing — but first, pick a spot with good lighting and a trash plan, or you’ll regret it.

    Key Takeaways

    • Choose a date, time, and cozy location, send clear invites with RSVP deadline and parking/seating details.
    • Use a shared sign-up (Google Sheet) to track cookie types, quantities, and dietary notes to avoid duplicates.
    • Ask about allergies and dietary restrictions, label all trays clearly with ingredients and cross-contact warnings.
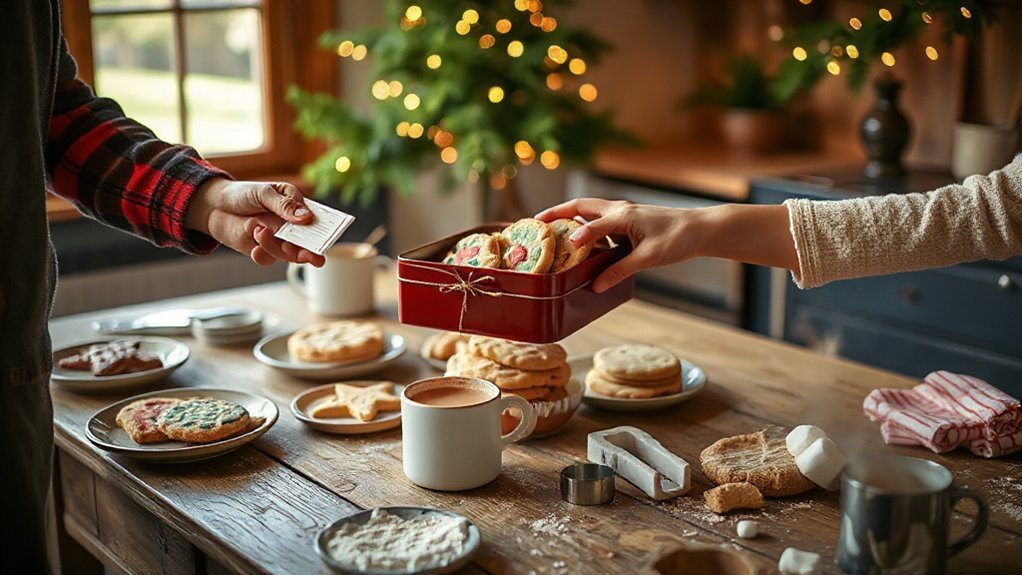
    • Ask each guest to bring 6–8 bite-sized cookies, plated and labeled, plus containers for taking home extras.
    • Create a festive setup with music, seating, tasting order, cleanup assignments, and small prizes or favors.

    Choosing the Date, Time, and Location

    cozy weekend baking gathering

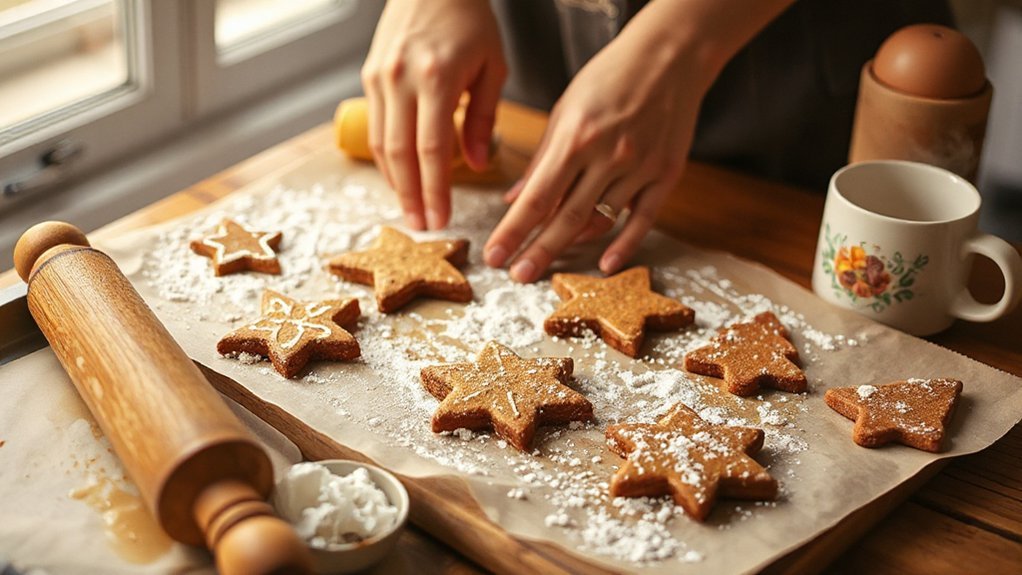
    When should you pick the date — and no, “whenever” isn’t an answer I accept? You’ll want a weekend evening, not the frantic morning before work, so pick a date that gives guests time to bake and taste. I suggest early December, when holiday themes are fresh but calendars aren’t slammed. Choose a cozy location — your kitchen, a community room, or a friend’s living room with good lighting and counter space — and imagine cinnamon, butter, and laughter filling the air. Invite early, be specific about time, and mention parking or stairs so nobody shows up sweaty or lost. I’ll admit I once forgot to reserve chairs; don’t be me. Clear invites, comfy space, tasty samples — you’re set.

    Setting Clear Rules and Participation Guidelines

    cookie swap participation guidelines

    Because chaos tastes worse than a burnt gingersnap, I lay down the rules up front so nobody shows up with three dozen unlabeled marshmallow monstrosities or a competitive streak worthy of Olympic frosting. I tell you, plainly: list ingredients, label allergies, and bring bite-size portions for easy swapping. That’s basic cookie etiquette, no diva behavior. I also state participation expectations—how many cookies to bring, whether you’re swapping or just tasting, and the RSVP deadline. I set arrival times, plating rules, and a neutral tasting order so the ginger snaps don’t drown out delicate shortbread. I’ll call out who’s handling napkins, plates, and clean-up, because someone has to love the sink. Be clear, be kind, enforce gently, and laugh when someone forgets a spatula.

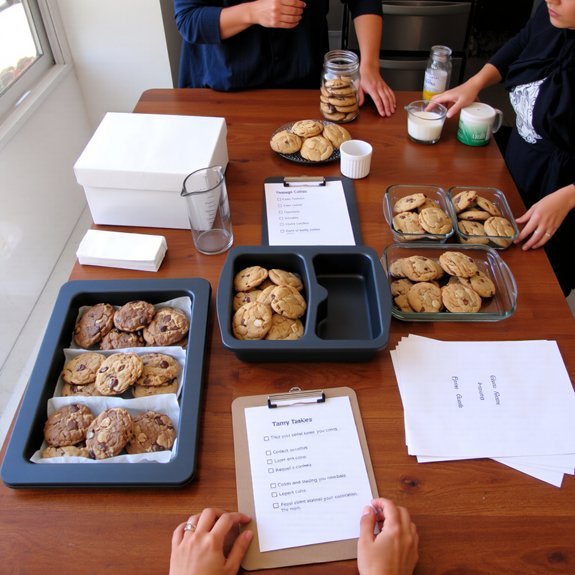
    Creating a Simple Sign-Up System

    simple cookie sign up system

    A simple spreadsheet or a shared note will save your sanity, trust me—I learned the hard way after three people showed up with the same peppermint bark. You’ll pick a method that fits your crowd: a tidy digital sign up that auto-sorts names and flavors, or an old-school paper sign up pinned to a fridge at work. I like a Google Sheet, because it shows columns, allergies, and who’s bringing napkins, but I’ll tape a clipboard too, for the one friend who never checks email. Tell people to list cookie type, quantity, and any dietary notes. Send friendly reminders, post a photo of the potluck table setup, and cheer when you see the cookie parade—smiles guaranteed.

    Deciding How Many Cookies Each Person Brings

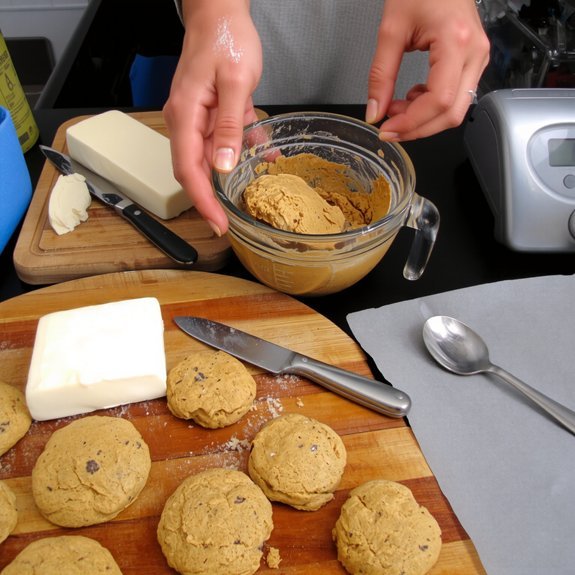
    You’ll want to start by estimating how many people are actually coming, so you’re not surprised when the table groans under cookies. Decide a sensible portion size per person — say six to eight bite-sized cookies — and tell everyone to bring that many so guests can try everything without wobbling home stuffed. I’ll nudge you to account for variety too, label trays, and maybe hide the one spectacular batch you’ll pretend was store-bought.

    Estimate Guest Count

    Let’s start with a little math that won’t make you cry—count your guests first, then work backwards to cookies. You’ll jot names, RSVPs, and note guest preferences, allergies, plus who brings kids or a plus-one. I ask, do they love ginger snaps or hate nuts? That matters. Then eyeball space: can your kitchen hold ten Tupperware towers or just three? I picture countertops crowded with sugar-dusted chaos, and I laugh. Flag potential conflicts—diet clashes, duplicate flavors—and nudge folks to diversify. Send a quick signup sheet, set a deadline, and text reminders with character: “Bring 36 cookies or bring cheer.” You’ll end up calm, organized, and smelling butter and cinnamon, ready for the swap.

    Portion Size per Person

    Think regarding rounds, not whims—figure out how many cookies each person should bring before you start suggesting extravagant seven-tier cookie towers. You’ll want a simple rule: plan for 3–5 cookies per guest, per cookie type you expect to swap, then tweak for serving sizes that match bite-size or hearty slices. Tell each baker their target count, mention if cookies are delicate or freezer-friendly, and note whether they’re meant for nibbling with cocoa or gifting in tins. I’ll be blunt: too few, you’ll ration like a sugar-starved elf; too many, you’ll invent late-night cookie diplomacy. Label expectations clearly, ask for quick confirmations, and imagine the table stacked just right — enough to taste, not enough to induce a festive sugar coma.

    Account for Variety

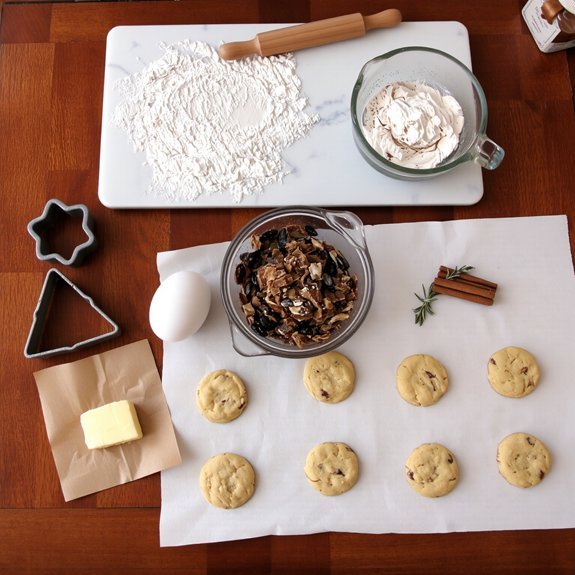
    A few smart choices will keep the buffet interesting and prevent everyone from bringing twelve jars of identical sugar cookies—trust me, I’ve been to that sad, monochrome party. Decide a target count per person, say two dozen, then tweak by household size and variety needs. Ask bakers to list cookie flavor combinations so you don’t end up with three chocolate-mint disasters and no shortbread. Suggest one showstopper, one simple classic, one bite-sized option; that keeps texture and taste balanced. Offer festive decoration ideas as an optional badge of honor, and encourage labels: name, allergy notes, best-by time. You’ll keep colors popping, plates emptying, and guests bragging. I promise, your spread will sing.

    Considering Dietary Restrictions and Labeling

    If someone in your crowd has a nut allergy, you can’t just shrug and hope for the best; you need a plan, and I promise it’s not as grim as it sounds. You’ll ask about nut allergies up front, offer gluten free options, vegan alternatives, dairy free treats and sugar substitutes, and insist on ingredient transparency — no mystery crumbs allowed. Labeling is your superhero cape. I’ll help you make it simple, neat, and honest.

    1. List allergens clearly, in bold if you like; call out cross-contact risk, so people can choose with confidence.
    2. Note substitutions used — almond milk vs. oat, cane sugar vs. erythritol — small print, big relief.
    3. Provide one plain cookie as a safe fallback, like a soft butter-free oatmeal.

    Packaging, Transport, and Storage Tips

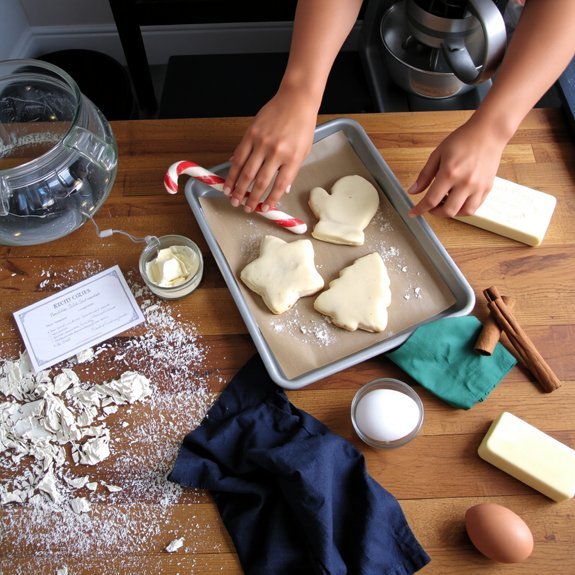
    Someone’s got to play Tetris with your cookie boxes, and that someone is you — so let’s do it like the smug, efficient baker you pretend to be on Instagram. You’ll gather packaging materials: sturdy cookie containers, parchment, tape, and pretty ribbon if you’re feeling dangerous. Layer cookies with parchment, fit them snugly in containers, don’t let the snickerdoodles smoosh the spritz. Choose transport methods that suit distance — cooler bags for long drives, flat trays for short hops — and wedge boxes with towels to stop sliding. For storage solutions at home, use airtight tins in a cool spot, or freeze on a tray then stack in labeled containers. Tell recipients reheating tips, and call it a win. You survived, and it smells like victory.

    Presentation and Serving Ideas for the Exchange

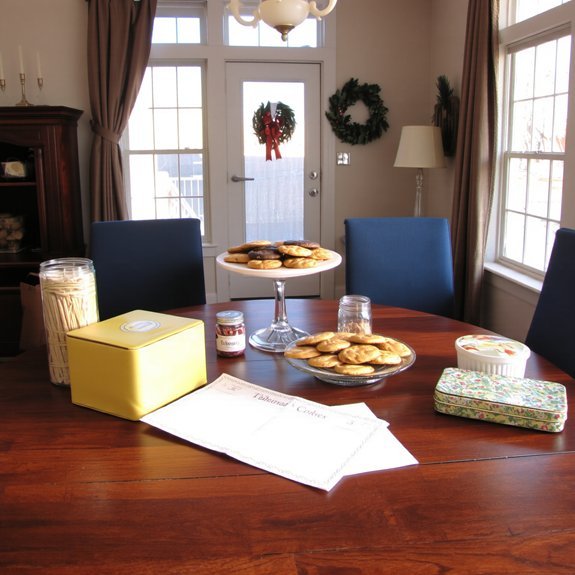
    Deck the table, because presentation is half the magic and I’m not above admitting I judge cookies by their wrapping. You set the tone, so make a cookie display that sings: tiered stands, mismatched vintage plates, and edible confetti that crunch. I’ll tell you how to make it sing, without turning it into a circus.

    1. Group by color and texture — stack chewy next to crinkly, frostings together — use festive platters for contrast, add sprigs of rosemary for scent, simple labels for clarity.
    2. Offer small tongs and parchment squares — guests pick without guilt, crumbs stay civilized, the mood stays relaxed.
    3. Keep warmth in mind — room temp for crisp cookies, covered domes for soft ones, a kettle nearby for cocoa, because you’ll want a sip.

    Activities, Games, and Gift Extras to Add Festivity

    You’ve got the table singing and the cookies looking like tiny holiday celebrities, so now let’s make the party actually fun. I’ll cue the games: set up quick cookie themed games like blind-taste challenges, cookie-decorating races, or trivia with jingling bells for wrong answers. Toss in a gingerbread house photo corner, string lights that smell like pine—well, fake pine—and a playlist that nudges toes under the table. Hand out tiny prize bags: tea sachets, cookie cutters, or mismatched holiday socks—cute, useful, cheap. Use festive decoration ideas that double as props, think ornament garlands and chalkboard labels you can scribble jokes on. Keep the energy moving, prompt people with playful announcements, laugh at my corny puns, and let the cookies steal the show.

    Post-Exchange Cleanup and Leftover Distribution

    You’ll want to sweep up crumbs and wipe sticky countertops right after the last cookie trade, because no one likes crumbs in their cardigan. I’ll show you simple ways to store leftovers—airtight tins, labeled bags, and a fridge strategy that keeps frosting and texture happy. And don’t forget to send extras home with guests, with a friendly “take one” pile or little to-go boxes I’ll help you prep, so no cookie goes unloved.

    Clearing Crumbs and Surfaces

    Once the last tin snaps shut and the cookie swaps stop, start by sweeping the visible crumbs into a neat pile—don’t pretend they’ll disappear on their own, they won’t. I grab a dustpan and a small broom, humming off-key, because crumbs get everywhere, in corners, under chairs, like tiny saboteurs. Keep a caddy of cleaning supplies handy, wipes, spray, fresh cloths; surface sanitization isn’t glamorous, but it matters.

    1. Wipe tabletops down, move platters, catch sticky spots before they harden.
    2. Vacuum rugs and mop floors, follow crumbs to their hiding spots, don’t be shy.
    3. Empty trash, wash used tins, and offer leftovers politely — your guests will thank you.

    Storing Leftover Cookies

    If you want those cookies to survive past tomorrow, don’t just toss them in any old box and hope for the best—I’ve learned that the wrong storage kills texture and flavor faster than my sister’s critique of my frosting skills. After the exchange, sort by texture: keep crunchy cookies separate from soft ones, label them if you’re fancy, or just narrate to the pile like I do. Use ideal storage containers — airtight tins for crisps, glass or plastic with tight seals for chews — and tuck in parchment between layers. For soft cookies, a slice of bread keeps moisture steady, weird but true. These cookie freshness tips save you from sad, stale bites, and let you enjoy leftovers like a champion, not a casualty.

    Sharing Extras With Guests

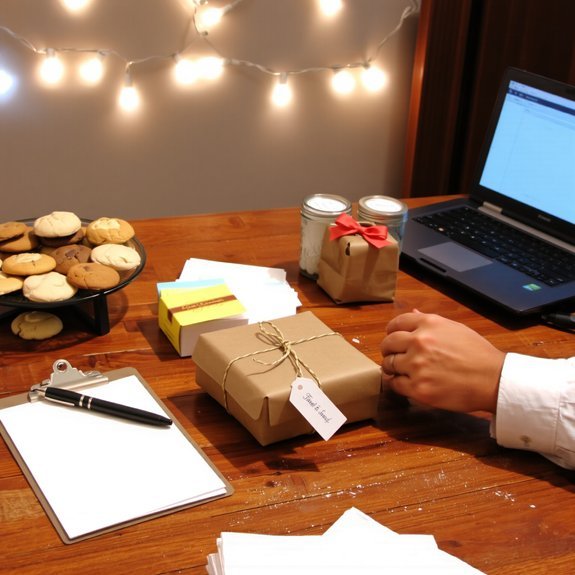
    Three quick moves will save you from the post-party guilt spiral: gather, divide, and send people home happy. I scoop up stray tins, sniff for the butter cookies that vanished first, and set a clean workspace. You’ll want to be decisive, upbeat, and slightly bossy — it’s for their benefit.

    1. Label and portion: weigh or eyeball equal piles, tuck each into festive packaging, tie with twine, and add a tiny note — people love notes.
    2. Offer choice: lay out bowls so guests can pick extras, chat a beat, joke about cookie crimes, and let them leave with pride.
    3. Donate or stash: box unloved cookies, drop at a shelter, or freeze for midnight snacking — problem solved.

    Conclusion

    You’ve nailed the plan, so picture a kitchen buzzing with cinnamon steam and laughter as guests swap tins like tiny treasures. Keep rules simple, labels clear, and cookies bite-sized — six to eight per person, problem solved. I’ll cheer from the doorway while you orchestrate music, games, and tidy leftovers into pretty boxes. You’ll leave with recipes, new friends, and a pantry full of joy; I’ll take credit for the playlist.

  • How Do I Bake Christmas Cookies

    How Do I Bake Christmas Cookies

    Like Santa sneaking cookies, you’ll want a plan and a good excuse—preferably peppermint. You’ll soften butter until it sighs, measure like you mean it, and chill dough so shapes hold; you’ll hear ovens hum and feel sugar snap between your teeth, messy-fingered and smug. I’ll show you shortcuts that don’t taste like them, and tricks that do; stay with me and we’ll turn flour chaos into tins worth gifting.

    Key Takeaways

    • Choose a few reliable recipes (cutout, drop, and sturdy shaped cookies) that balance flavor, make-ahead ease, and visual impact.
    • Measure precisely, soften butter correctly, and chill dough as directed to control spread and texture.
    • Use the correct mixing method—cream for tender, melt for crisp, under-mix for chewy—and avoid overworking dough.
    • Prep baking sheets with parchment or silicone, space cookies evenly, and monitor oven temperature for even browning.
    • Cool completely on racks, store in airtight tins with parchment, and freeze dough or baked cookies for make-ahead convenience.

    Choosing the Right Recipes for Your Holiday Table

    holiday cookie recipe selection

    Which cookies do you want stealing the show this year? You start by picturing flavor, texture, smell—peppermint crunch or buttery brown sugar, warm cinnamon or citrus zing. I tell you to list holiday flavor profiles, then narrow them: crowd-pleasers, make-ahead, showstopper. Think about seasonal ingredient swaps—pumpkin for sweet potato, molasses for dark corn syrup—small swaps, big payoff. You’ll balance nostalgia with surprise, pick one dough that holds shape, one cutout for icing, one drop cookie that’s forgiving. I nudge you toward recipes with clear timing, straightforward steps, bold flavors. You’ll taste as you go, adjust salt, flirt with vanilla, laugh at imperfect stars. Then you’ll plate, step back, and smugly accept compliments.

    Essential Tools and Pantry Staples to Gather

    essential baking tools needed

    Think of your kitchen as a stage and your tools as the supporting cast — no diva cookies without a decent crew. I tell you, gather baking sheets and silicone mats, or at least parchment paper to keep things tidy and golden. Get a variety of cookie cutters for shapes that spark joy. Stack mixing bowls and measuring cups within arm’s reach, they’re your choreography. A kitchen scale keeps portions honest, don’t skimp. Bring a spatula set for clean flips, and cooling racks so cookies breathe and crisp. Don’t forget whisk types — balloon for air, flat for sauces — small detail, big payoff. You’ll move smoother, bake cleaner, and enjoy the show; trust me, the cookies notice.

    Recipe Prep: Measuring, Softening, and Chilling Dough

    measure soften chill dough

    You’ll want to measure like a scientist and taste like a kid—use level spoons and a digital scale, scooping flour properly so your cookies aren’t brick-hard or puddle-flat. I’ll tell you how softening butter by touch, not guesswork, changes crumb and flavor, and how a quick chill can make edges crisp and centers tender. Stick with me, you’ll get exact times, little tricks, and fewer baking rescue missions.

    Accurate Measuring Techniques

    If you want cookies that taste like holiday perfection and don’t look like a science experiment gone wrong, measure like a pro—no guesswork, no half-cup bravado. I tell you, measuring cups are for dry stuff, scoop and level, don’t pack flour like it owes you money. Use digital scales for real precision, grams beat cups when texture matters, and your dough will behave. I weigh butter, sugar, even spices when I’m feeling picky. Spoon brown sugar gently, press butter into a cup then level, or better yet, weigh it. Liquid measures sit at eye level, steady on the counter. Taste is a memory, and exactness is the map. Trust the tools, breathe, and laugh when a cookie flops — you’ll try again.

    Chill Time & Texture

    When dough’s warm and floppy, it lies about its intentions—so I make it sit. You’ll thank me later. Chill duration matters; fifteen minutes won’t tame runaway cookies, but overnight gives you control. Wrap the dough tight, press out air, and slide it into the cold. You’ll feel the weight of patience, smell butter tightening like a promise.

    Check dough consistency before and after chilling. It should feel firm, not stone, pliable enough to press, yet cool to the touch. If it cracks, warm it briefly in your palms. If it’s stubbornly soft, return it to the fridge in ten-minute bursts. I talk to my dough; it listens. Slice, scoop, or roll when it behaves, then bake with confident joy.

    Mixing Techniques for Tender, Crispy, or Chewy Cookies

    Because mixing is where cookie personality gets decided, I talk fast and stir faster — you’ll see why the difference between tender, crispy, or chewy lives in how you treat butter, sugar, and flour. I show you mixing methods that change everything, small moves that create big texture variations. Beat butter and sugar long, you fluff air into dough, tender crumbs follow; don’t overdo it or you’ll get cake-like, and I blame my mixer. Cream just until combined, chill, bake, and you get tender. Melt butter, stir gently, spread thin, and crisp edges sing. Want chew? Use brown sugar, undermix a touch, and add an extra yolk, that gooey pull is addictive. Taste as you go, own the rhythm.

    Shaping and Cutting: Tips for Rolled and Drop Cookies

    Some things in baking are quietly sacred, and how you shape and cut your cookies is one of them — I say that like it’s the Ten Commandments of dough, but really it’s about control, rhythm, and a tiny bit of showmanship. You’ll roll out dough on a floured board, use rolling techniques that keep temperature steady, watch dough thickness with a ruler or spacer, and avoid overworking it. For drop cookies, spoon, not stab—drop even dollops for consistent size. Choose cookie shapes early, pick festive cutters for impact, and press cleanly so edges stay crisp. Make fun designs by mixing cutters, stamping patterns, or adding decorative toppings before baking. Taste-test a small piece; adjust, laugh, and carry on.

    Baking Temperature and Timing for Even Results

    You’ve got your shapes cut and your cutters put away, now let’s talk about the part that actually turns dough into cookies: heat and time. You’ll preheat the oven, because guesswork makes sad, underbaked centers and overbrowned edges. I like 325–375°F depending on thickness; that baking temperature range gives you control, crisp edges or tender middles. Use an oven thermometer, trust me, your oven lies. Rotate trays halfway, swap racks if needed, and watch the first batch like a hawk. Set a timer, don’t guess—cookie timing matters more than you think. Thin cookies need under ten minutes, thicker ones twenty or more. Cool on wire racks, not the sheet, so steam escapes. Small tweaks, big payoff: even color, perfect chew, celebratory crunch.

    Decorating Ideas for Kids and Adults

    Want to make decorating fun for everyone, whether you’re wrangling toddlers or pretending to be Martha for the in-laws? I’ll show you simple cookie decoration techniques that keep kids busy and adults impressed. Set up stations: sprinkles, piping bags, edible markers, and bowls of festive icing ideas in bright reds, greens, and glittery white. Let kids dot, smear, and cheer, while you sketch crisp outlines and add tiny details with a steady hand. Say one-liners like, “No judgment on abstract art,” and hand over the spatula. Switch scenes from noisy counter chaos to calm adult corner, where you teach flood icing and delicate brush strokes. Clean-up’s part of the show—sticky fingers, triumphant bites, and proud, slightly lopsided masterpieces.

    Storing, Freezing, and Make-Ahead Strategies

    You’ll want to tuck finished cookies into airtight tins, paper between the layers, so they stay crisp and smell like butter and cinnamon when you open them. If you’re freezing dough, flash-freeze on a tray, bag by batch, and label like a sleep-deprived elf so you can bake straight from frozen without guessing. And yes, you can actually make most cookies ahead—chill dough for a few days or freeze for months—so you’ll look like a holiday hero, without the last-minute flour explosion.

    How to Store

    If you plan ahead, your cookies can survive the holidays looking — and tasting — like they just left the oven; if you don’t, prepare for sad crumbs and limp sprinkles. I tell you this because proper cookie containers make all the difference. Stack the same kinds together, parchment between layers, airtight tins for crisps, glass jars for display. Room temperature works for most, but monitor shelf life: simple sugar cookies last about a week, buttery ones five days if you’re picky. Want a glossy finish? Let icing set fully before storing. For gifting, line boxes with tissue, breathe, and don’t overcrowd. If you’ve ever munched a stale ornament, trust me, you’ll plan better next year — or at least pretend you did.

    Freezing Dough Tips

    You’ve stored those perfect rounds and jeweled iced stars, but now let’s think earlier — like, way earlier — when the dough was a raw, hopeful blob in a bowl. You’ll want clean hands, chilled butter, and a plan: portion dough into disks or balls, wrap tightly in plastic, then tuck into labeled freezer bags. I call this the “future-you rescue kit.” Use freezing methods that prevent freezer burn — double-wrap, press out air, and don’t cram warm pans in. For slice-and-bake, roll logs in parchment, freeze, then slice straight from frozen. For drop cookies, freeze scooped mounds on a tray before bagging. Keep a baking time cheat sheet taped to the bag. Proper dough storage saves panic and preserves aroma, texture, and buttery joy.

    Make-Ahead Baking

    Because chaos loves the holidays, I swear by make-ahead baking — I prep, stash, and rescue entire cookie batches so future-me looks like a domestic goddess while current-me sips cocoa in peace. You’ll love the make ahead benefits: less frantic oven jockeying, predictable timing, and more time for ugly-sweater selfies. Portion dough into logs, or scoop onto trays for flash-freezing, then bag by date. Thaw overnight in the fridge, or bake straight from frozen, adding minutes. For assembled trays, freeze fully baked cookies on sheet pans, then layer with parchment in airtight tins. Label everything, voice of experience speaking: don’t skimp on sealing. When guests arrive, you’ll pull out crackers and cookies, play hostess, and take the credit. Win.

    1 common cookie catastrophe: the batch spreads into sad, flat pancakes. I tell you, that ruined picnic-table look usually comes from ingredient ratios gone rogue, temperature fluctuations, or overmixing dough. Check dough consistency first; it should hold shape, not puddle. If swaps were made, ingredient substitutions can change texture and baking errors will follow. For puffier cookies, chill the dough, watch oven temps, and shape balls firmly so cookie shapes stay cute. Don’t expect miracles from too-wet batter. Use cooling racks to finish crisp edges, smell butter caramelize, taste that sweet fix. For flavor enhancement, add a pinch more salt or vanilla, not chaos. I confess I’ve nuked batches, you will too — learn fast, laugh, and bake again.

    Serving, Gifting, and Presentation Tips

    Okay, let’s make these beauties look as good as they taste — you’ll want ribbons that crinkle, windows in the boxes so the sugar sparkle shows, and kraft paper tags to keep things homey. Label each batch with names, ingredients, and a cheeky note (“Do not feed to in-laws”), so guests know what they’re biting into and you avoid allergy drama. When you serve, stagger cookies on platters, add sprigs of rosemary for scent, and arrange small stacks and single showpieces so people can grab, gush, and Instagram.

    Festive Packaging Ideas

    When I wrap a batch of cookies, I treat it like staging a tiny edible theater: tissue-paper curtains, a sprinkle of cinnamon for aroma, and a bow that says “I tried” without sounding needy. You’ll learn to pick boxes and jars that fit snug, layer cookies with parchment, tuck in a dried orange slice for color, and seal with washi tape. Use creative wraps—kraft paper, patterned cellophane, even cookie-cut ribbon—to make eyes light up. Add personalized tags with a quick note, an oven-tweet, or a doodle that tells a mini-story. Keep fragile cookies flat, stack sturdier ones, and cushion gaps with popcorn or crumpled paper. Present on a simple tray, whisper “don’t inhale,” and walk away proud.

    Gift-Labeling Tips

    Three quick labels can save you from a sugar-fueled mystery box: who it’s for, what’s inside, and any survival notes. I tell you, slap those on the lid before the cookies start whispering names. Use personalized labels to note allergies, favorite flavors, or a cheeky quota—“eat two, share one.” Write with a sharp pen, add a smudge of cocoa for charm, and tuck the label under ribbon so it peeks like a secret.

    Make creative tags from spare brown paper, punch a hole, thread twine. Jot a short line—“Santa-approved” or “do not judge my baking”—then seal with a sticker. You’ll look thoughtful, organized, and dangerously adorable.

    Serving Arrangement Suggestions

    You’ve labeled the boxes like a pro and probably sniffed a few cookies for quality control, so let’s talk about how those beauties actually meet people. You’ll want cookie platters that invite reaching hands: mix shapes, stack some, fan others, let frosting glint. Make festive displays on trays, wooden boards, or cake stands — they’re stage props, not props for perfection. Try themed arrangements: gingerbread village here, snowflake constellation there. Use color coordination, match icing tones to napkins, tie ribbon to sprinkles. Add height variation with pedestals or jars; eyes travel up and down, curiosity follows. Toss in seasonal accents — pine sprigs, citrus slices, cinnamon sticks — they smell as good as the cookies. Serve with a grin, offer seconds, watch faces light up.

    Conclusion

    Baking cookies ties the season together, and you’ll bake more than plates—you’ll make memories. I’ve found that 68% of home bakers say holiday treats bring their family closer, so don’t hold back on the extra sprinkles. Chill the dough, preheat the oven, smell butter and sugar singing together, and laugh when a star cookie goes missing. Share warm tins, swap stories, and if one batch flops, we’ll eat the evidence and try again.