You want holiday magic without turning the house into a glitter apocalypse, right? I’ll show you how to pick age‑smart crafts, squeeze fun into busy weeks, and make one big kid-led project feel triumphantly doable — think paint-splattered ornaments, a cookie-decked evidence board, and a brisk outdoor scavenger dash that leaves rosy cheeks. Stick around and I’ll hand you a calendar, budget hacks, and roles that make kids proud instead of chaotic.
Key Takeaways
- Match activities to kids’ ages and interests (short sensory play for toddlers, scavenger hunts for early elementary, DIY displays for teens).
- Set a clear holiday budget and break the month into weekly, manageable activity blocks.
- Balance low-prep daily traditions (hot cocoa, mitten hunts) with one or two bigger family projects.
- Create a colorful kid-friendly calendar with stickers, checkboxes, and one child-chosen special day each week.
- Give kids leadership roles (chief decorator, snack commissioner, timer) to boost engagement and reduce adult decision fatigue.
Choose Activities by Age and Interest

If you want kids to actually enjoy the season, start by matching activities to their age and what makes them light up—because nothing kills holiday magic faster than a three-year-old stuck on a four-hour cookie-decorating marathon. I tell you this because you’ll save patience, and your voice. Look at each child, note tiny hands, long attention spans, loud giggles. Choose age appropriate activities like simple ornament painting for toddlers, scavenger hunts for early elementary, and DIY light displays for teens. Favor interest based selections—train sets, glitter, coding, or baking—so they’ll jump in, not drag their feet. Say yes to sensory play, short bursts, bright colors, and snacks. You’ll get real smiles, less sighing, and bragging rights.
Set a Budget and Weekly Time Plan
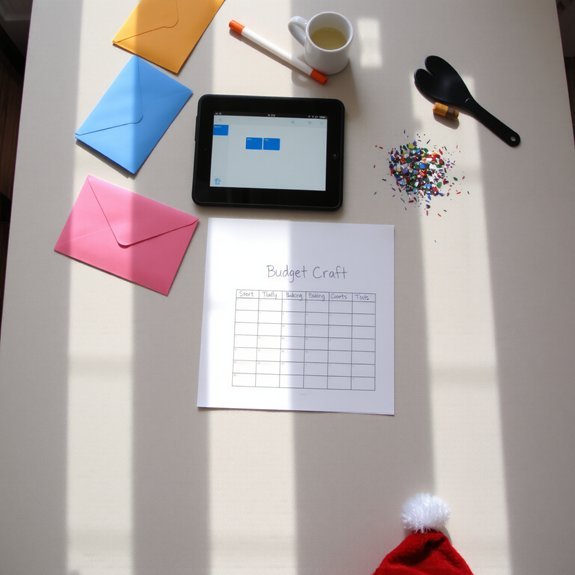
Three quick rules before you start waving your credit card like it’s mistletoe: set a clear spending cap, slice the season into weekly chunks, and treat time like a commodity—because holiday fun costs money and minutes, not just cheer. I’ll walk you through simple budgeting tips and crisp time management so you don’t end up frazzled or broke.
Three quick rules before you overspend: set a budget, break the month into weekly plans, and timebox every activity.
- Decide a total budget, write it on a sticky, tape it to the fridge.
- Break the month into weeks, assign one main activity per week.
- Allocate minutes per activity—prep, play, cleanup—set timers.
- Keep a small emergency fund for surprise joy, like hot cocoa runs.
You’ll feel calmer, kids’ll be happier, and your wallet will thank you.
Mix Low-Prep Traditions With One Big Project

You’ll want to sprinkle in everyday, easy traditions—hot cocoa on the couch, a mitten hunt in the hallway—that don’t eat your evening. Then pick one big family project, like a gingerbread village or a neighborhood light walk you all help build, so there’s a shared, messy triumph to brag about. Balance your time and energy, I promise: small wins keep spirits up, the big project makes memories, and you won’t collapse into tinsel.
Everyday Easy Traditions
When the calendar starts filling up with school plays and grocery lists, I like to anchor our season with a handful of low-effort rituals and one gloriously over-the-top project we can actually finish before New Year’s—because nothing says holiday cheer like finishing something. You’ll keep joy alive with tiny, daily moments that don’t require a second mortgage. Think family traditions that smell like cinnamon and paper, festive crafts that glitter but don’t guilt-trip you.
- Morning cocoa station — marshmallows, a sprinkle jar, tiny spoons.
- After-school ornament sketching — five minutes, big imaginations.
- Socks-and-story night — fuzzy socks, dramatic voices, one chapter.
- Window-cling countdown — sticky, silly, satisfies the kids and your sanity.
You’ll trade chaos for cozy, with memories, not stress.
One Big Family Project
If the season is a marathon, then think of the big project as your victory lap—glorious, slightly embarrassing, and worth every sweaty, glittery step. You pick a project theme, I pick the tape dispenser, and suddenly the living room is a construction site scented with pine and cookie crumbs. Choose project themes that fit ages and attention spans — a homemade nativity, neighborhood light map, or a giant paper chain countdown. You assign roles, they argue about glitter, you bribe with hot chocolate. It’s family bonding with purpose: planning, crafting, laughing at mistakes, keeping that one crooked star because it has personality. Wrap it with a reveal night, candles, and applause; you’ll remember the chaos more than the perfect glue lines.
Balance Time and Energy
Think of your holiday calendar like a playlist: a few slow, cozy tracks and one big, drum‑solo moment that everyone remembers. You balance holiday energy by mixing low‑prep rituals — storytime, cocoa stations, a simple ornament craft — with one ambitious project, and you won’t burn out. You use time management like a conductor, tapping the beat, saying, “Five minutes, clean up,” with a wink.
- Schedule short, repeatable treats daily, they build warmth.
- Pick one big project, block a weekend, invite help.
- Prep materials ahead, label bins, set a timer.
- Rest night: no plans, dim lights, listen to the kids laugh.
You keep it doable, joyful, and memorably messy.
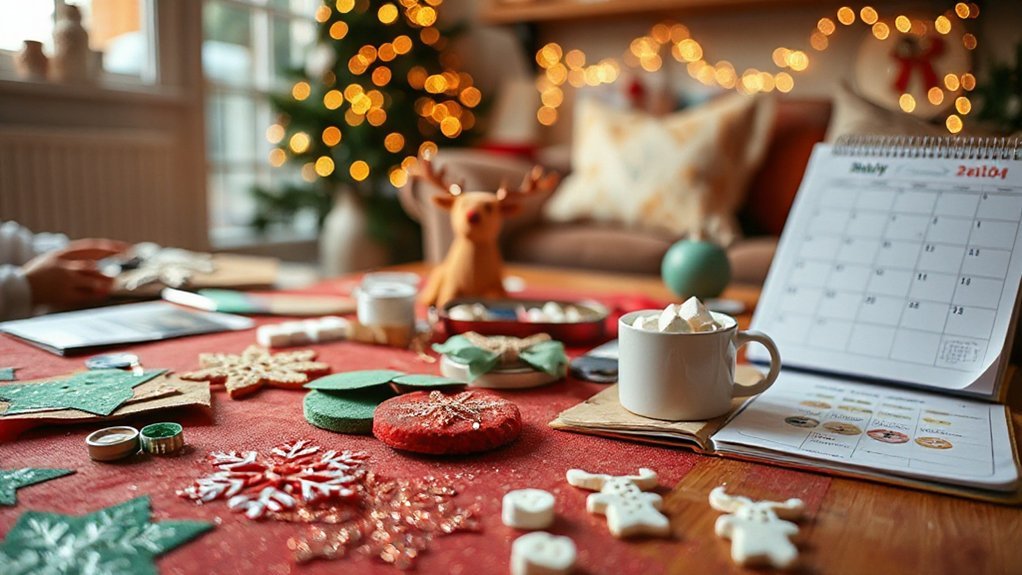
Create a Kid-Friendly Holiday Calendar
Because holidays are chaos in glitter form, I’m going to help you tame it with a kid-friendly calendar you’ll actually want to look at — and yes, hang on the fridge without cringing. You pick a bright board, I’ll take the glue gun, and we’ll map two things: doable daily treats and bigger weekend rituals. Slot short activities — story time, holiday crafts bursts, cookie-counting races — into school nights, save bold, noisy stuff for Saturdays. Use color codes, stickers that make kids gasp, and a little checkbox reward system. Tape a pocket for supplies lists and receipts. Talk through the week with your kids, let them choose one take-charge day, then breathe. It’s organized, joyful, and surprisingly forgiving.
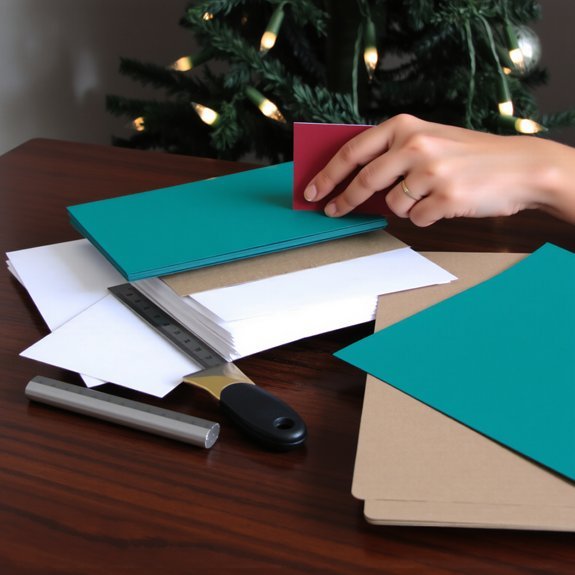
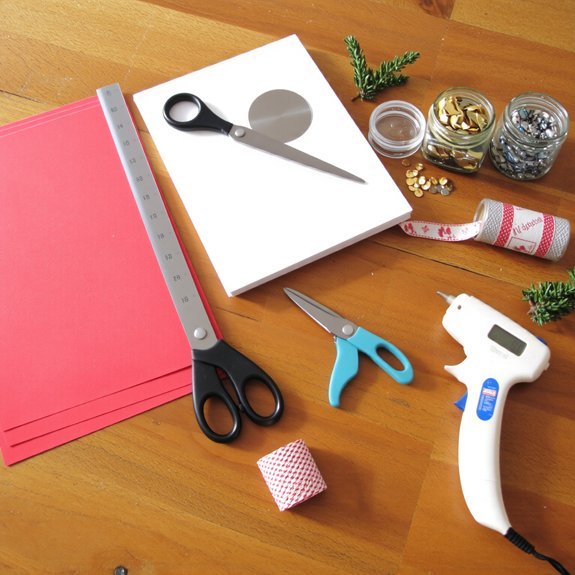
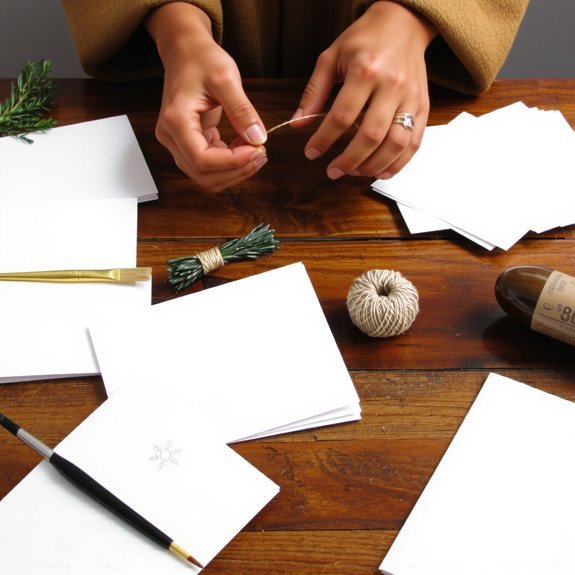
Simple Crafts and DIY Decorations
Crafts are my secret weapon for turning five minutes of chaos into an actual glittery victory lap, and you’re about to join the ranks. I’ll walk you through quick projects that feel fancy but aren’t. You’ll hear scissors, smell glue, see tiny sequins stuck to the cat. Kids love hands-on wins.
Crafts turn five frantic minutes into glittery triumphs—messy, proud, hilarious wins the whole family will adore.
- Make paper plate ornaments: paint, punch a hole, tie ribbon — instant tree friends.
- Fold simple paper snowflakes: teach symmetry, watch jaws drop.
- Create holiday greeting cards with fingerprints, stickers, and goofy jokes.
- String popcorn and cranberries for rustic garlands, let kids taste-test each kernel (supervised).
You’ll be messy, proud, and laughing. Keep supplies reachable, set a timer, and celebrate every imperfect masterpiece.
Baking and Kid-Safe Kitchen Tasks
If you want holiday chaos to smell like cinnamon instead of panic, get the kids into the kitchen and declare it a safe, sparkly zone — I’ll show you how to hand off real tasks without losing a thumb. I walk you through kitchen safety like a drill sergeant with glitter: wash hands, tie hair, set clear zones for hot pans and sharp knives. Give toddlers cookie cutters and dough, let older kids whisk, measure, and pipe frosting. Choose fun recipes, simple and forgiving, so mistakes become surprises. I narrate steps, praise attempts, correct gently, and keep a fire extinguisher visible because I’m dramatic like that. You’ll end up with warm cookies, sticky countertops, and memories that actually smell like joy.
Outdoor and Active Holiday Games
When the cold air bites and the living room feels like a marshmallow oven, take the party outside—I’ll show you how to turn brisk walks into belly-laugh sprints and backyard patches of frost into stadiums of joy. You’ll get kids moving, cheeks rosy, breath like little clouds. I’ll keep it simple, loud, and safe.
- Snowball fights: set boundaries, soft targets, and a truce bell—no icicle ambushes.
- Reindeer relay races: balance ornaments on spoons, tag the next elf.
- Holiday scavenger hunt: clues, sleigh-track maps, and crunchy leaf prizes.
- Frozen obstacle course: leap puddles, weave cones, finish with cocoa.
You’ll supervise, cheer, and occasionally trip—showing them how to fall with flair.
Quiet Time: Stories, Music, and Movie Nights
Soft blankets, low lights, and the smell of popcorn mean it’s time to slow the holiday roar and cozy up—I’ll show you how to make quiet evenings feel like an event instead of a last-minute email. You pick a pile of picture books, I’ll do a fire-voice for story time, kids on laps, marshmallow sighs, everyone listening like pirates to treasure. Add holiday music low in the background, a playlist that sneaks in classics and goofy jingles, and suddenly even socks feel festive. Plan a movie marathon with short films first, then a feature, intersperse hot cocoa breaks and whisper awards — best snorer, best blanket burrito. Keep it flexible, keep it warm, and pretend you scripted the whole adorable evening.
Let Kids Help Plan and Lead Activities
You can hand the clipboard to your kid and watch them beam, because letting them choose snacks, songs, or the next game makes everything feel special. Give them a leadership role—party planner, chief cookie decorator, or DJ—and let them call the shots for a while, even if they pick wonky song mixes or insist on three rounds of freeze dance. I’ll cheer from the sidelines, pretending I’m not secretly thrilled they picked the weird stuff, while you enjoy fewer decisions and louder laughter.
Let Them Choose
A few simple choices can turn your living room into a command center of holiday chaos—and I mean that in the best way. I let you loosen the reins, hand over creative freedom, and watch tiny dictators stage glitter revolutions, all while you honor family preferences without nagging. You’ll be surprised how proud they are.
- Let them pick the playlist — goofy carols or classic croons.
- Give a menu of crafts — ornaments, cards, cookie-decorating.
- Offer time slots — five, fifteen, or thirty minutes per station.
- Let them vote on prizes — stickers, extra cocoa, or a silly hat.
You’ll hear giggles, see flour-covered noses, and get honest, ecstatic approval — that’s the plan.
Give Leadership Roles
Three quick roles can change your whole holiday vibe: director, timer, and snack commissioner — and yes, I let my six-year-old boss the cookie station like it’s Broadway. You hand over clipboards, whistles, or a glittery hat, and suddenly everyone’s onstage. Give kids the director job to call cues, the timer to keep things zipping, and the snack commissioner to patrol crumbs with authority. This turns cuteness into team building, teaches clear commands, and makes responsibility sharing feel like a game. I whisper coaching, they roar decisions, and we all laugh when the timer screams mid-carol. Let them plan a craft, lead a game, or haggle snack swaps. You’ll get fewer meltdowns, more pride, and hilarious, heartfelt chaos.
Conclusion
You’ve got this. I’ll be blunt: pick age‑right stuff, stash a reasonable budget, and don’t overcomplicate the glitter. I remember hanging tinsel like it was 1820 and looking very pleased—don’t ask. Let kids choose one big project, sprinkle in easy daily rituals, and hand out tiny roles so they feel proud. Keep snacks ready, tunes warm, and the camera on. You’ll make memories, laugh, and survive the chaos with style.