You want to make Christmas cards that actually feel like yours, not something from a mall rack, so start by picking a size and a vibe — cozy kraft paper, glossy photo, or a cheeky pop of neon — and gather cardstock, envelopes, scissors, glue and a favorite pen; I’ll show tricks for quick layouts, bold focal images, and a smudge-proof hand-lettered greeting that won’t look like a ransom note, plus an eco-friendly twist using scraps and stamped leaves, but first, let’s sort your supplies and pick a theme that makes you grin.
Key Takeaways
- Choose a card size, orientation, and a single focal design (e.g., tree, mitten, photo) to guide layout and envelope fit.
- Gather basic tools and materials: sturdy cardstock, envelopes, scissors, glue, markers, and any embellishments.
- Select a color palette and contrasting elements, leaving ample whitespace for clarity and visual impact.
- Personalize with family photos, short anecdotes, or handwritten greetings for warmth and connection.
- Consider eco-friendly choices: recycled paper, upcycled embellishments, or plant-based inks to reduce waste.
Choosing a Card Style and Size
Alright — let’s pick your card’s personality. You’ll decide size and mood first, you’ll hold paper, feel its weight, imagine greeting hands. Start with card dimensions: standard A2, square, or a mini surprise, measure twice, cut once. Think about seasonal themes — snowy minimalism, retro kitsch, or cozy fireplace scenes — pick one and commit. I’ll nudge you: bold graphics read better across a living room. Fold sharply, score quietly, listen to the paper sigh. Choose orientation, portrait or landscape, then test an envelope for a snug fit. Keep balance, don’t overstuff with glitter, your cat will thank you. Make choices that match your voice, be playful, be clear, and don’t panic — you got this.
Gathering Materials and Tools
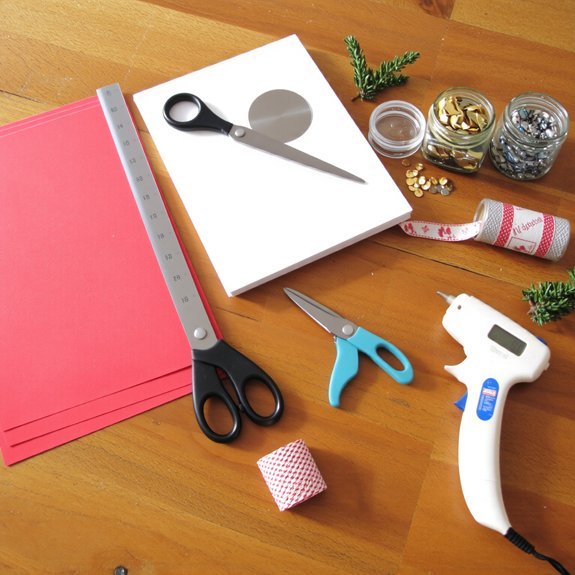
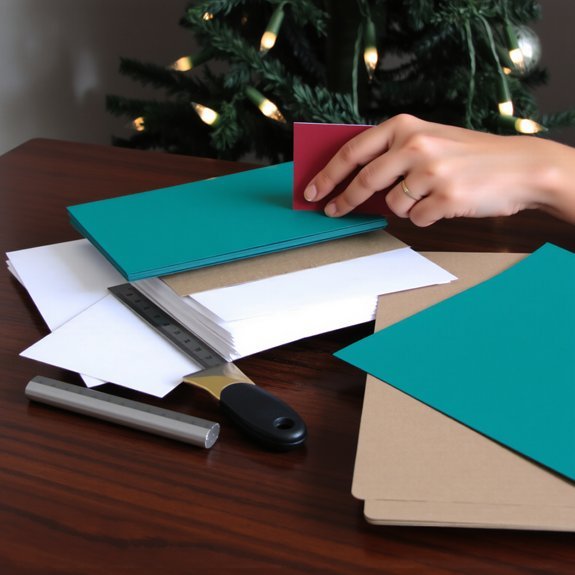
Tools and tidbits: before you plunge into it, let’s make the workbench inviting — I want you to feel the tiny thrill of a brand-new craft knife, the satisfying snap of a fresh glue stick, and the soft give of heavyweight card stock under your fingers. Gather crafting essentials: card stock, envelopes, glue, scissors, a ruler, pencils, and a craft knife. Add markers, watercolor pans, and ribbon for texture. Think about seasonal themes when picking colors and embellishments, so red velvet ribbon or icy glitter make sense. Clear a flat surface, lay down scrap paper, and arrange tools within reach. I’ll remind you to keep a damp cloth for glue mishaps — trust me, you’ll thank me. Now breathe, and enjoy the mess.
Simple Design Ideas for Beginners
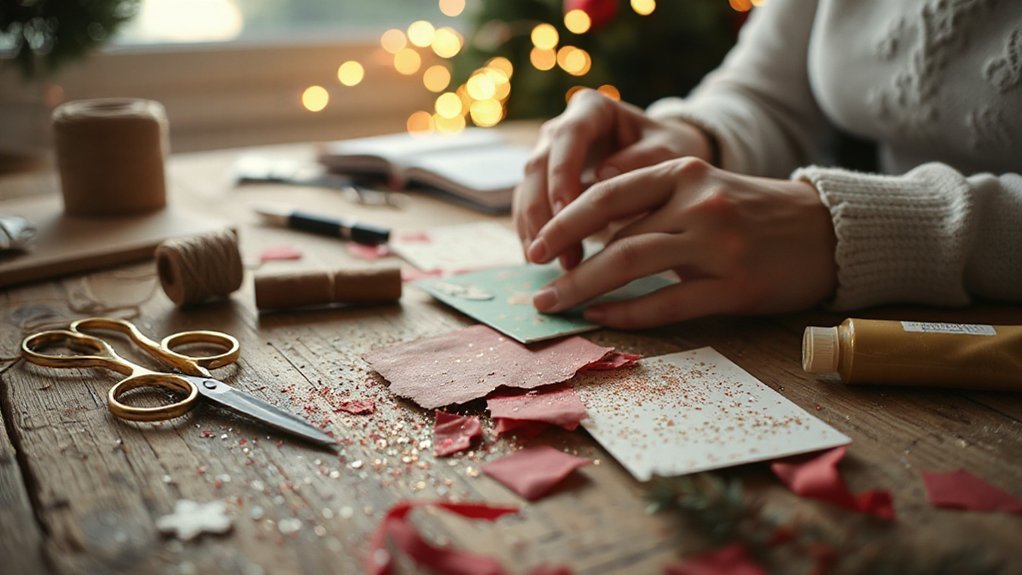
Start with one simple rule: choose a single focal idea and run with it — a tiny tree, a snowy mitten, or a bold, handwritten greeting. You’ll keep things clean, then play with creative color combinations: teal with copper, cranberry with cream, or mint with charcoal. Pick one motif, sketch it large, stamp or sticker it, add a whisper of glitter. I’ll tell you what works: contrast, a little whitespace, and a confident greeting. For festive theme inspiration, flip through old postcards, window displays, or a mug of cocoa steam — sensory cues spark ideas. Mix textures, fold a corner, tie a thin ribbon, write a cheeky line inside. You’ll make cards that feel handmade, warm, and oddly professional, honestly.
Techniques for Printing and Photo Cards
You’ll want to pick paper that feels right in your hands—matte for a cozy, hand-made vibe, glossy if your photo needs to pop, and heavier stock so the card doesn’t flop like a sad pancake. I’ll show you where to place the photo so faces sit on the focal grid, leave breathing room for captions, and avoid chopping off Aunt May’s hat. Trust me, a tiny trim or a millimeter shift makes the whole card sing, and you’ll look like you knew what you were doing all along.
Choosing Paper and Finish
Paper is the handshake of your card — the first thing someone touches and judges before they even read your clever message, so don’t skimp. I want you to feel the weight, hear the nap; texture options matter. Choose matte for warm, tactile notes, glossy for punchy photos, or linen for old-fashioned charm. Pick color choices that support your design — cream for vintage, bright white for modern, or blush for quirky warmth.
- Match finish to image sharpness.
- Consider thickness for perceived value.
- Test ink on samples to avoid surprises.
- Think about envelopes, they frame the reveal.
You’ll print, you’ll press, you’ll puzzle a bit, then grin when it all lines up.
Photo Placement Tips
Where should that photo live on the card so it sings, not sulks? You want viewers to feel the moment, so you place the image where eyes naturally land — slightly above center, or offset to a golden-ratio sweet spot, and you breathe around it with margins. I’ll show you quick layout techniques: rule-of-thirds crops, full-bleed drama, or framed miniatures with white space that hum. Test photo balance by squinting, stepping back, and tilting the card; if one side drags, nudge the picture, shrink the caption, or add a tiny graphic to steady the scene. Print a proof on your chosen stock, feel the texture, smell the ink, and adjust until the photo owns the card, bold and unembarrassed.
Hand-Lettering and Calligraphy Tips
If we’re honest, hand-lettering feels like magic until you try it and discover it’s mostly muscle memory, a forgiving mess of ink and practice. I’ll walk you through basics, so you don’t scare the paper. Pick lettering styles that fit your card’s mood — whimsical, elegant, blocky — and test ink choices on scrap stock. Warm your wrist, breathe, and sketch lightly in pencil first. Press for downstrokes, lift for upstrokes, hear the pen whisper.
- Practice basic strokes daily, slow and steady.
- Trace alphabets, then freehand short words.
- Use contrast: thick downstrokes, fine upstrokes.
- Keep a clean nib, blotter nearby, and patience.
You’ll mess up, laugh, and surprise yourself — that’s half the fun.
Quick Assembly and Batch-Making Shortcuts
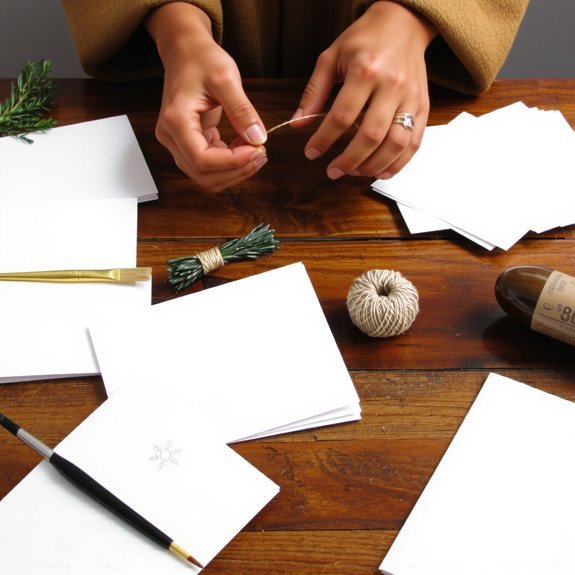
Once you’ve ditched the “one-card-at-a-time” martyrdom, batch-making feels like hosting a tiny, efficient party where you do everything at once and only cry once — maybe. I tell you what works: set up stations, lay out pre-cut cardstock, envelopes, adhesive, and stamps. Use quick assembly techniques — stamps for patterns, a corner rounder, adhesive dots — and you’ll zip through designs like a paper ninja. I talk you through batch making tips: timer for 15-minute sprints, music, a snack, and assembly-line folding. Mix tasks — fold all, stamp all, glue all — then finish with a flourish. You’ll hear the satisfying thunk of envelopes, see neat stacks, and feel oddly proud, like you’ve won holiday Tetris.
Personalization and Family Traditions
You’ve set up the stations, conquered the snack pile, and you’ve got tidy stacks of cards waiting like obedient recruits — now let’s make them feel like yours. You’ll tuck in tiny family memories, a smudge of glitter from last year’s tree, a smirk about Uncle Joe’s reindeer hat. Keep it real, keep it warm.
Set up stations, snag snacks, and tuck smudged glitter, spilled cocoa stories, and doodled signatures into each card.
- Mention one vivid moment, a laugh or spilled cocoa, so readers smell the cinnamon.
- Add a line about a favorite holiday traditions, short and specific, like gingerbread night.
- Slip in a photo caption with a funny truth, unapologetic and kind.
- Sign each with a small, personal flourish — doodle, thumbprint, or secret code.
Budget-Friendly and Eco-Conscious Supplies
You can grab recycled paper with a slightly rough, cozy texture that smells faintly of cardboard and history, and I’ll show you how it stands up to ink without bleeding. Use plant-based inks that smell earthy and dry fast, and I’ll teach you which colors pop on kraft versus white. For flair, raid a junk drawer for upcycled buttons, dried orange slices, and ribbon scraps—yes, glue those awkward bits, I won’t judge.
Recycled Paper Choices
Paper choices can make your card feel like a warm hug or like a thrift-store mystery. You’ll want recycled materials that look — and smell — like thought, not last-year’s junk drawer. I pick stocks with texture, you’ll feel the tiny fibers under your thumb, and the color sings quiet rustic. Eco friendly options save money, and bragging rights, without sacrificing charm. Try these simple picks:
- 100% post-consumer recycled cardstock, sturdy and matte, perfect for hand-lettering.
- Off-white cotton blend, soft, absorbs ink beautifully, classy without trying too hard.
- Reclaimed kraft paper, toothy, rustic, great for stamped designs.
- Seed-infused paper, plant it later, tactile and surprisingly joyful.
You’ll save cash, the planet thanks you, and your cards look intentional.
Natural, Plant-Based Inks
When I started flirting with plant-based inks, I expected mud-smeared fingers and disappointing prints — instead I found colors that smelled faintly of herbs and behaved like they’d gone to finishing school. You’ll love how simple natural dyeing techniques turn kitchen scraps into jewel tones; boil onion skins for amber, simmer beets for fuchsia, steep spinach for mossy green. I show you plant ink recipes that use vinegar or salt as fixatives, a splash of alcohol to brighten, and a sieve for silky clarity. Mix, strain, test on scrap paper, adjust concentration. Press with a block or brush, let dry slowly. It’s cheap, low-waste, and oddly elegant. Expect uneven edges — they’re charming, not broken.
Upcycled Embellishment Ideas
If you raid your junk drawer like I do, you’ll find a tiny treasure trove waiting to become card bling — rusty buttons, mismatched ribbons, a lone earring that lost its podiatry partner. I love turning cast-offs into charming details, using upcycled fabrics for tiny bows, scraps of sweater for texture, and vintage buttons for focal points. You’ll glue, stitch, and arrange, smelling fabric and old metal, feeling cozy triumph.
- Cut tiny felt stars from sweater scraps, glue edges for durability.
- Layer upcycled fabrics for depth, stitch or hot-glue in a jiffy.
- Cluster vintage buttons for centerpieces, mix sizes and patina.
- Use jewelry bits as hanging charms, secure with twine or wire.
Conclusion
You’ve got this—pick a size, grab supplies, and make one bold design your north star. I’ll cheer from the sidelines while you cut, glue, and sparkle like a kid with a glue stick, feeling paper under your nails and cinnamon in the air. Don’t overthink it: batch a few, add a photo, hand-letter a wish, and send warmth that’s louder than store-bought. Homemade cards are little hugs you can mail.